Initial Setup
This guide walks you through setting up Partsemble after creating your account. It covers the same steps as the onboarding wizard — use this as a reference if you skipped the wizard or want a deeper explanation of each step.
Account Creation
When you sign up for Partsemble, you get a 14-day free trial with access to all features (Advanced-level). No credit card is required. Your trial includes up to 50 builds per month and 500 product SKUs, which is enough to fully evaluate the product.
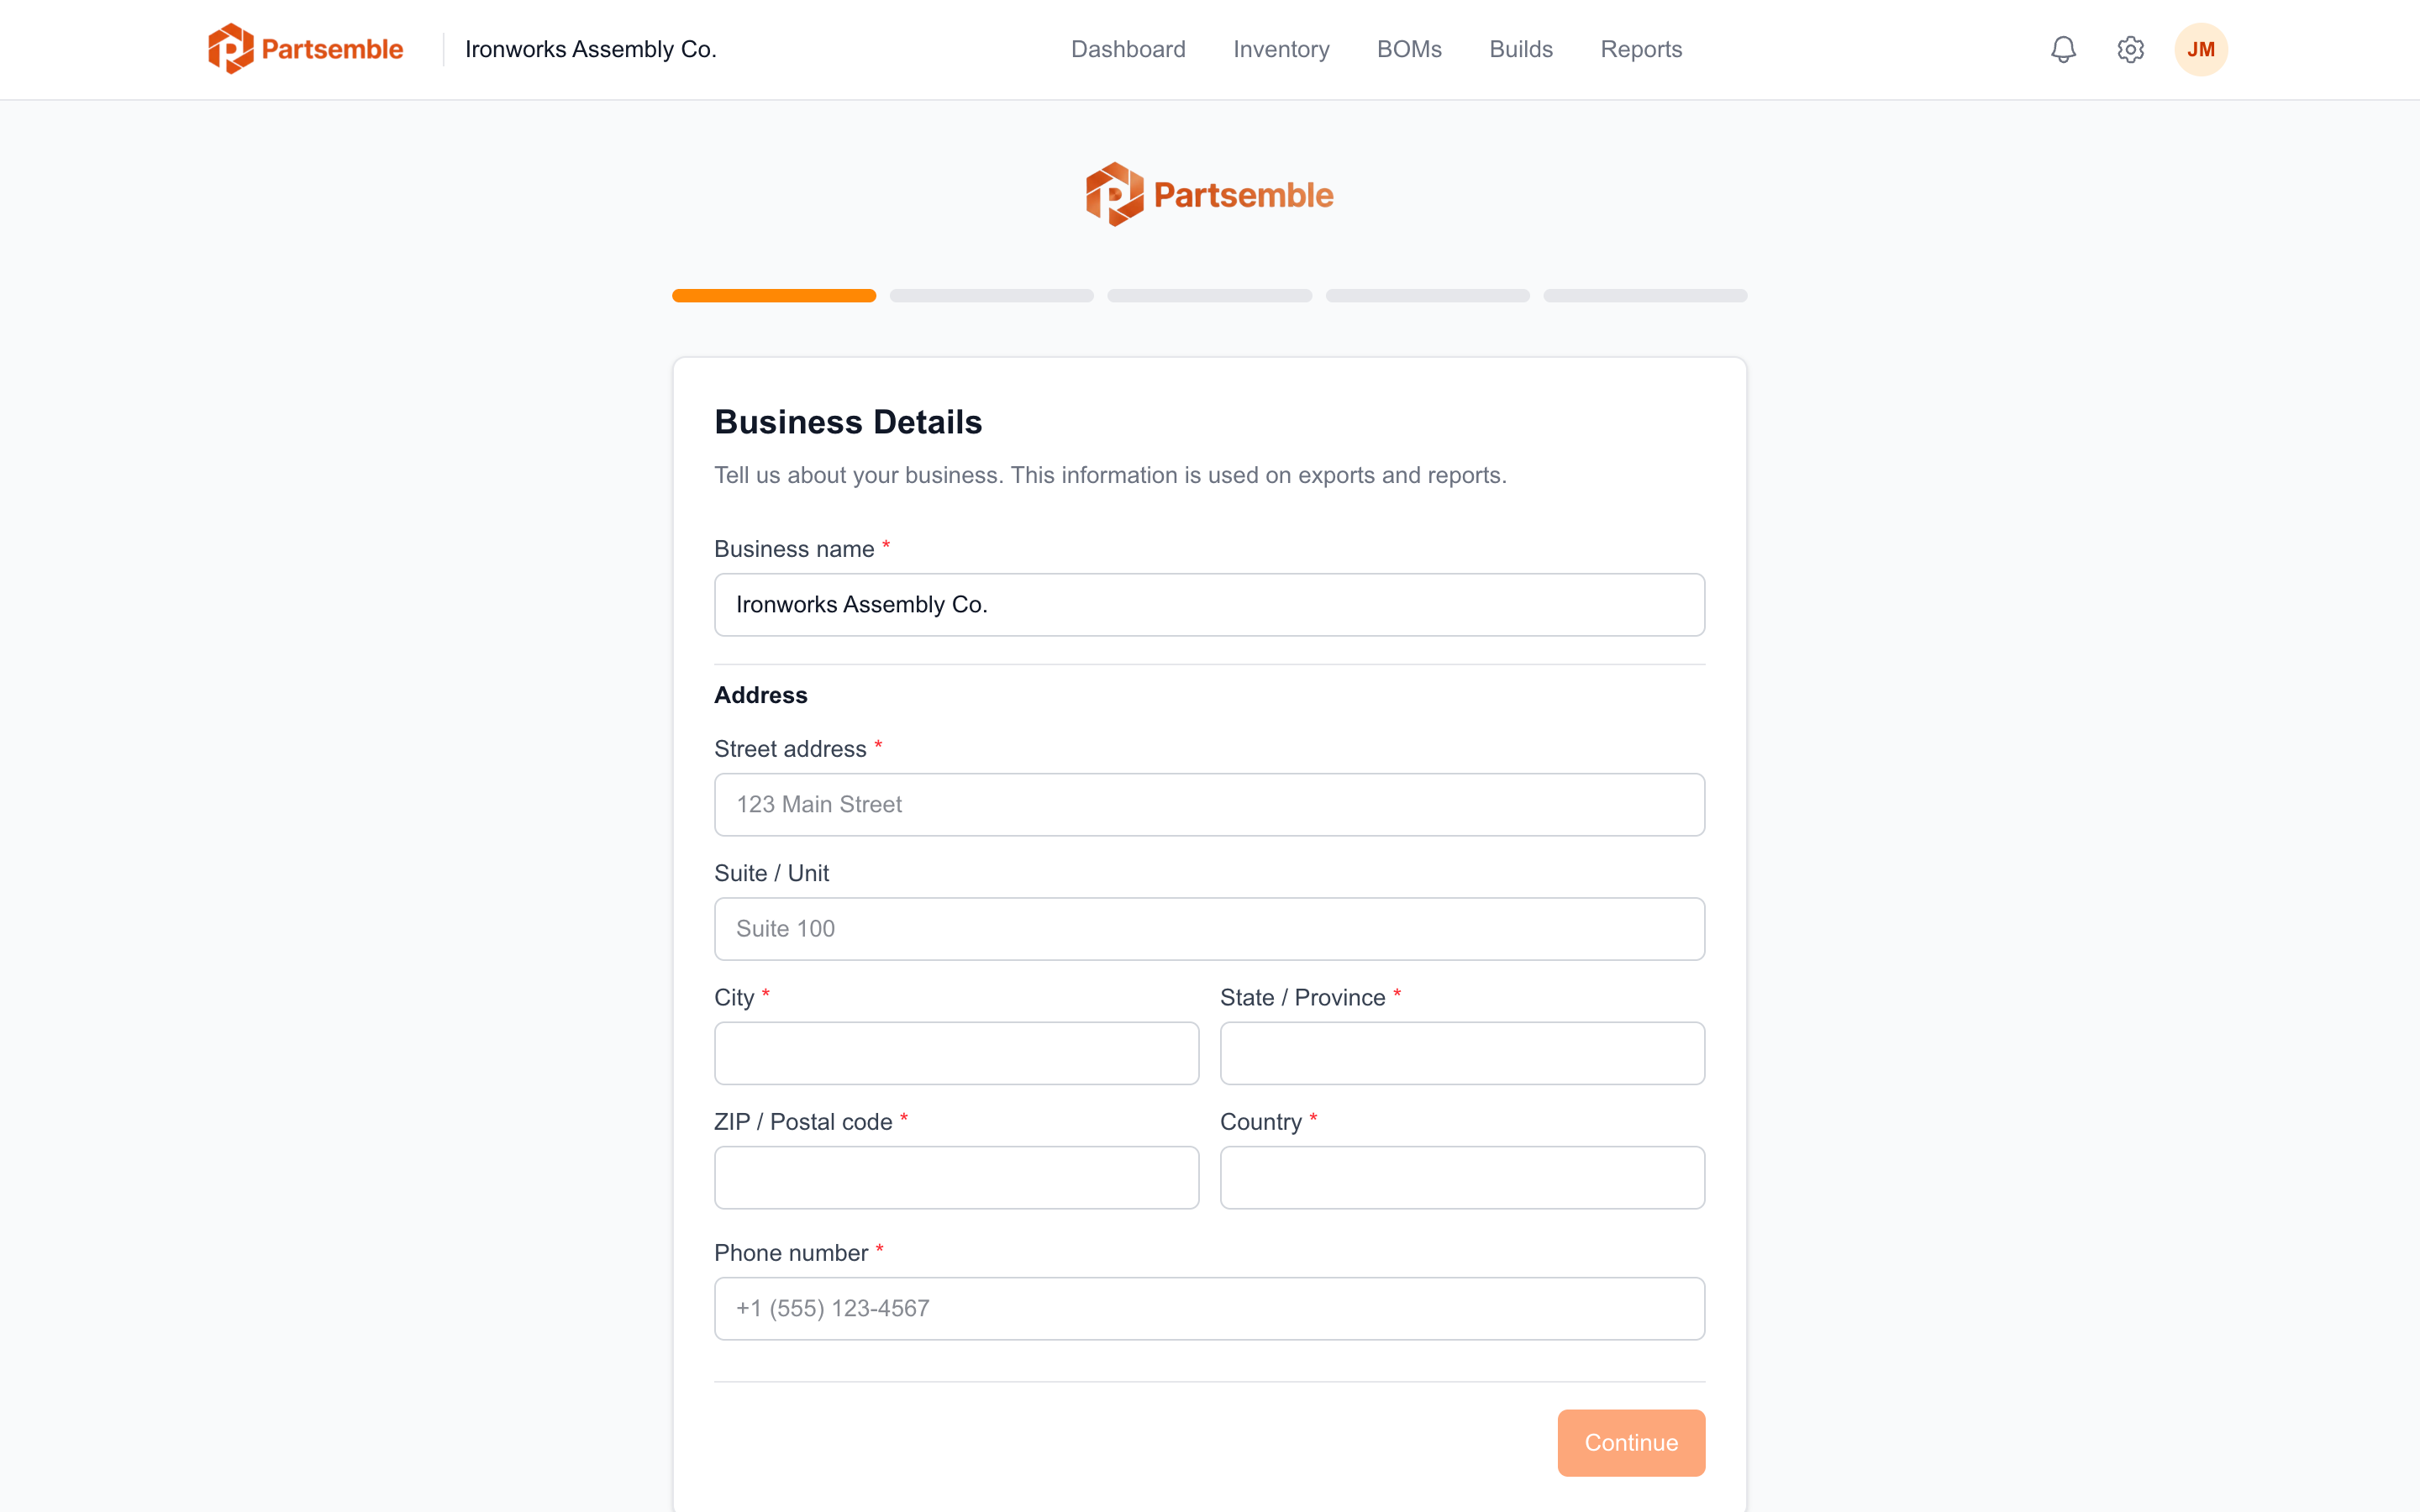
If you sign up with Google, Partsemble pre-fills your business name from your Google account. The first wizard screen lets you confirm your business name and basic details — you can edit these here or later in Settings → Business Settings.
Step 1: Connect Your Accounting System
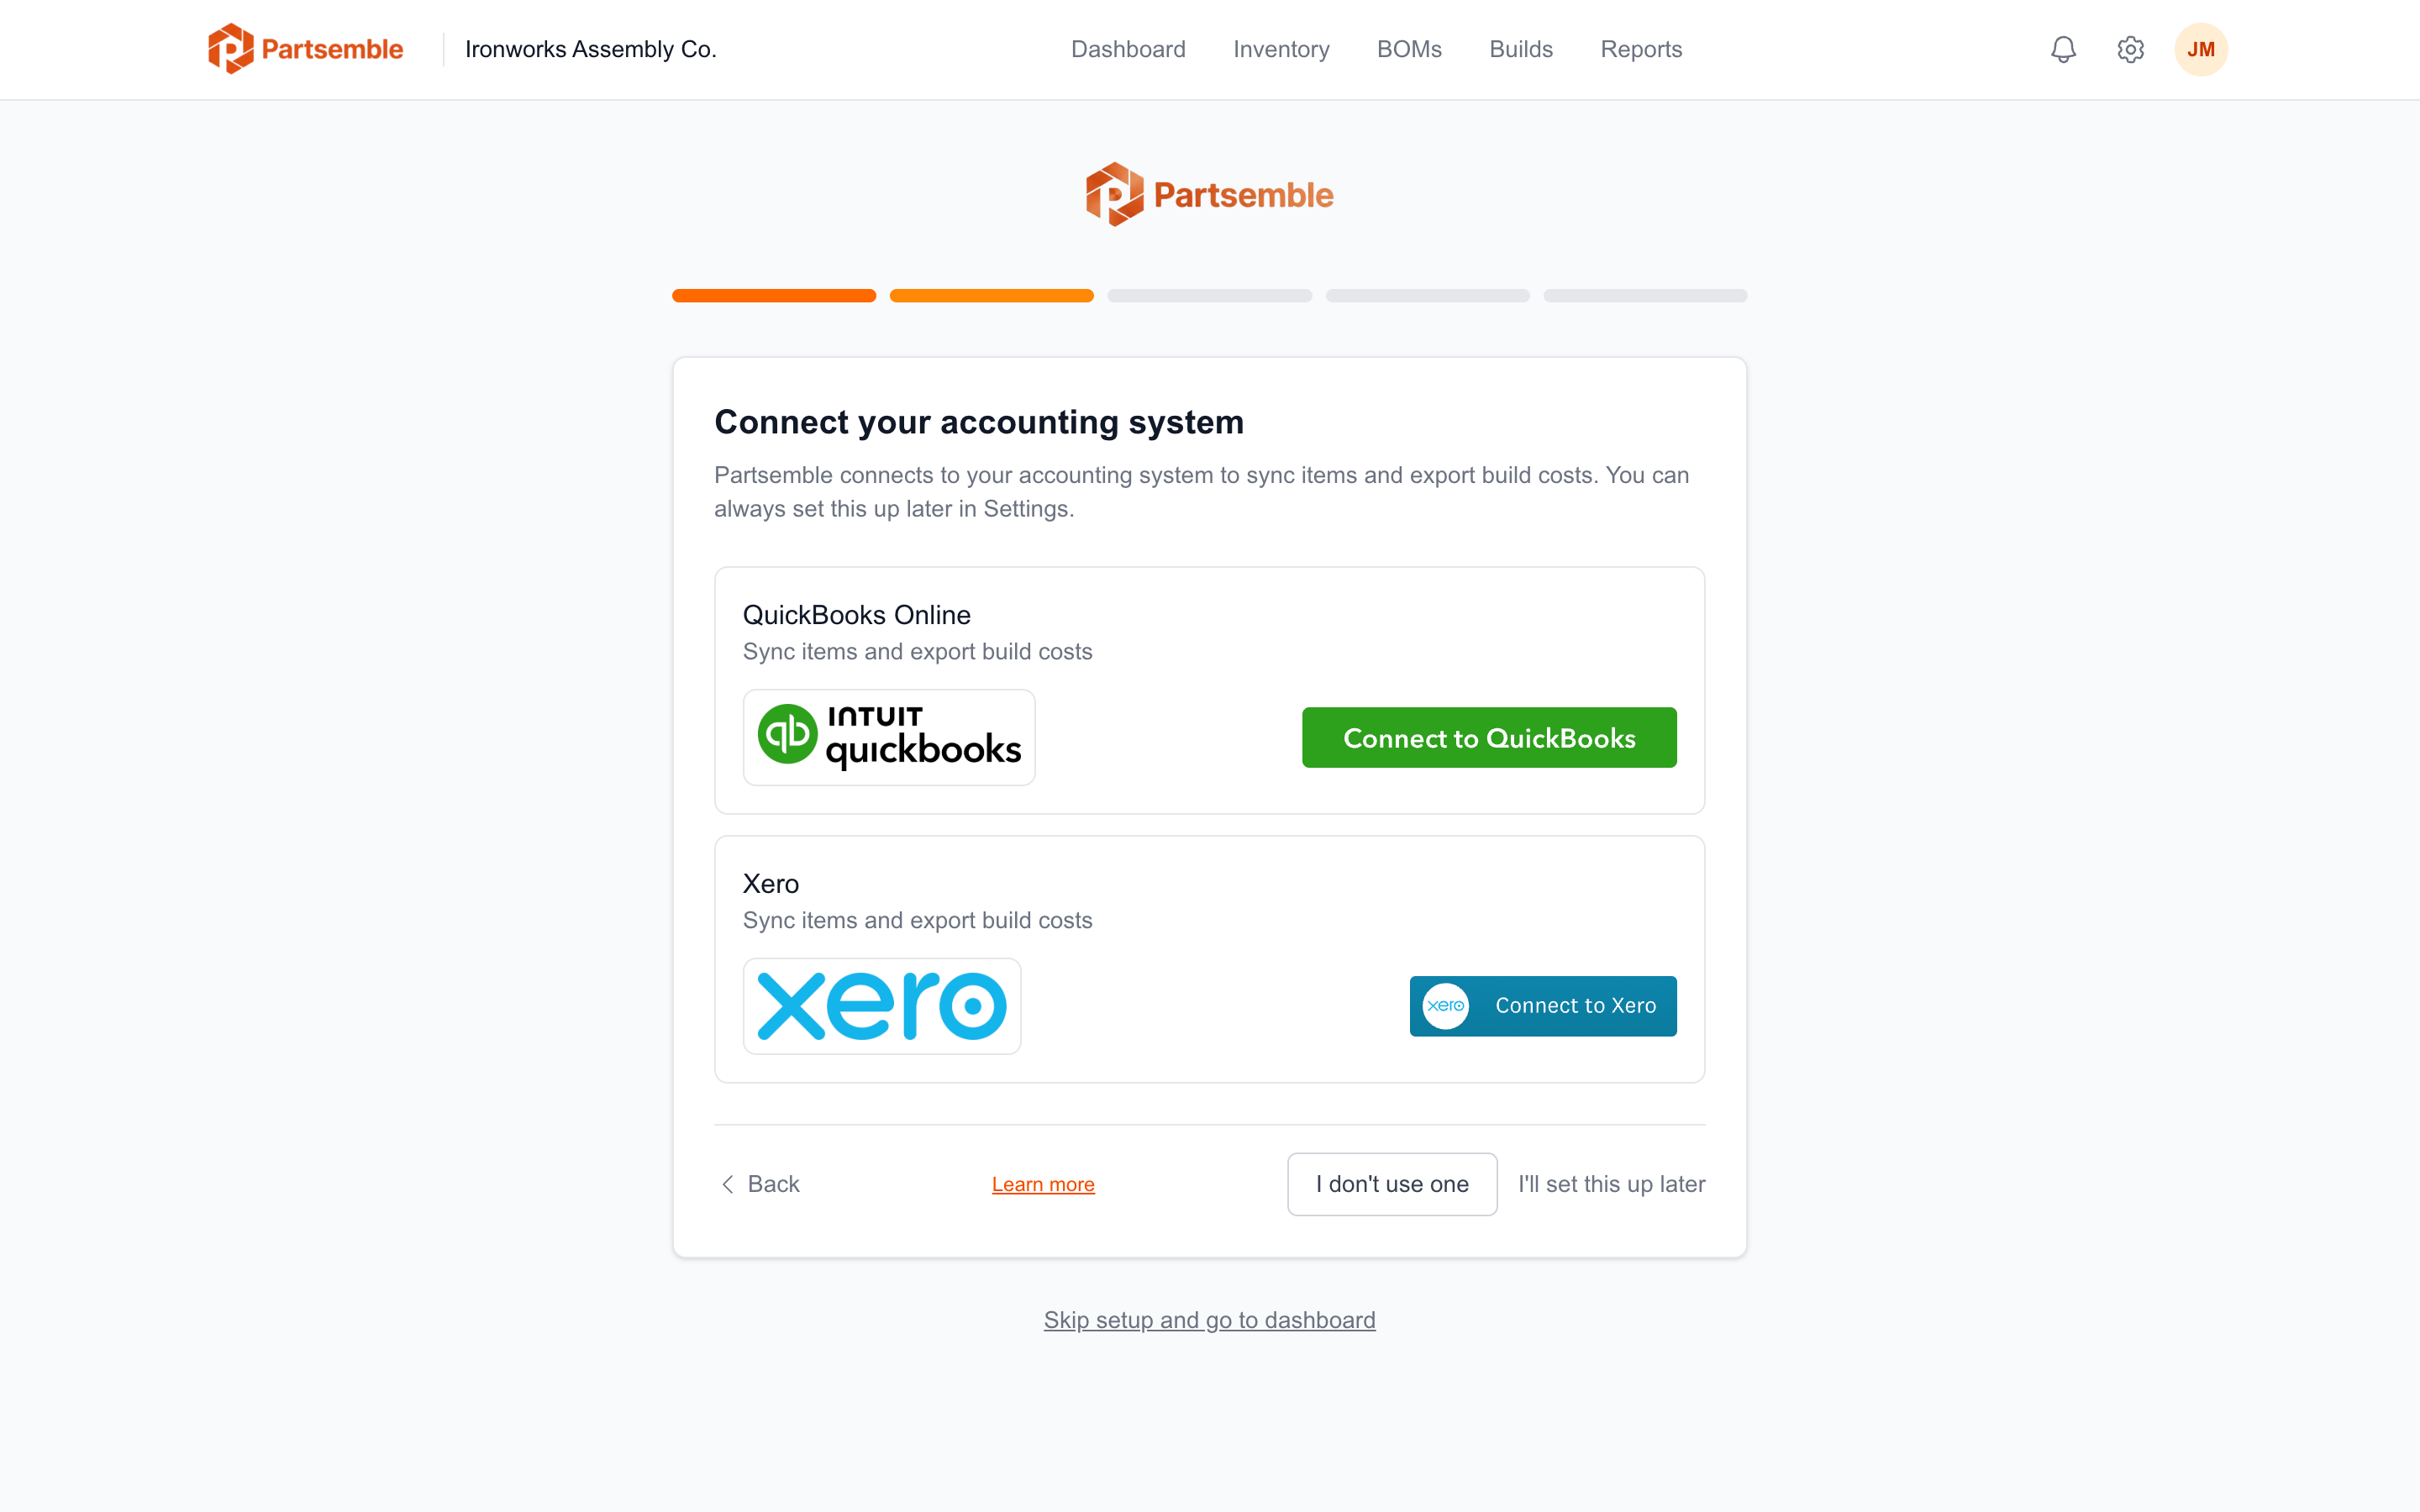
The next setup step is connecting your accounting system. Partsemble currently supports QuickBooks Online, with more providers coming soon.
Connecting your accounting system lets you sync inventory items into Partsemble and export build transactions (inventory adjustments and journal entries) back to your books. This eliminates manual data entry and keeps your accounting accurate.
To connect, click your provider and sign in through the secure OAuth popup. Partsemble never sees or stores your accounting password — it uses industry-standard OAuth tokens.
See Connecting QuickBooks Online for a detailed walkthrough.
You can skip this step and connect later from Settings → Integrations. Partsemble works without an accounting connection — you just won't be able to sync items or export transactions until you connect.
Step 2: Choose Your Inventory Source
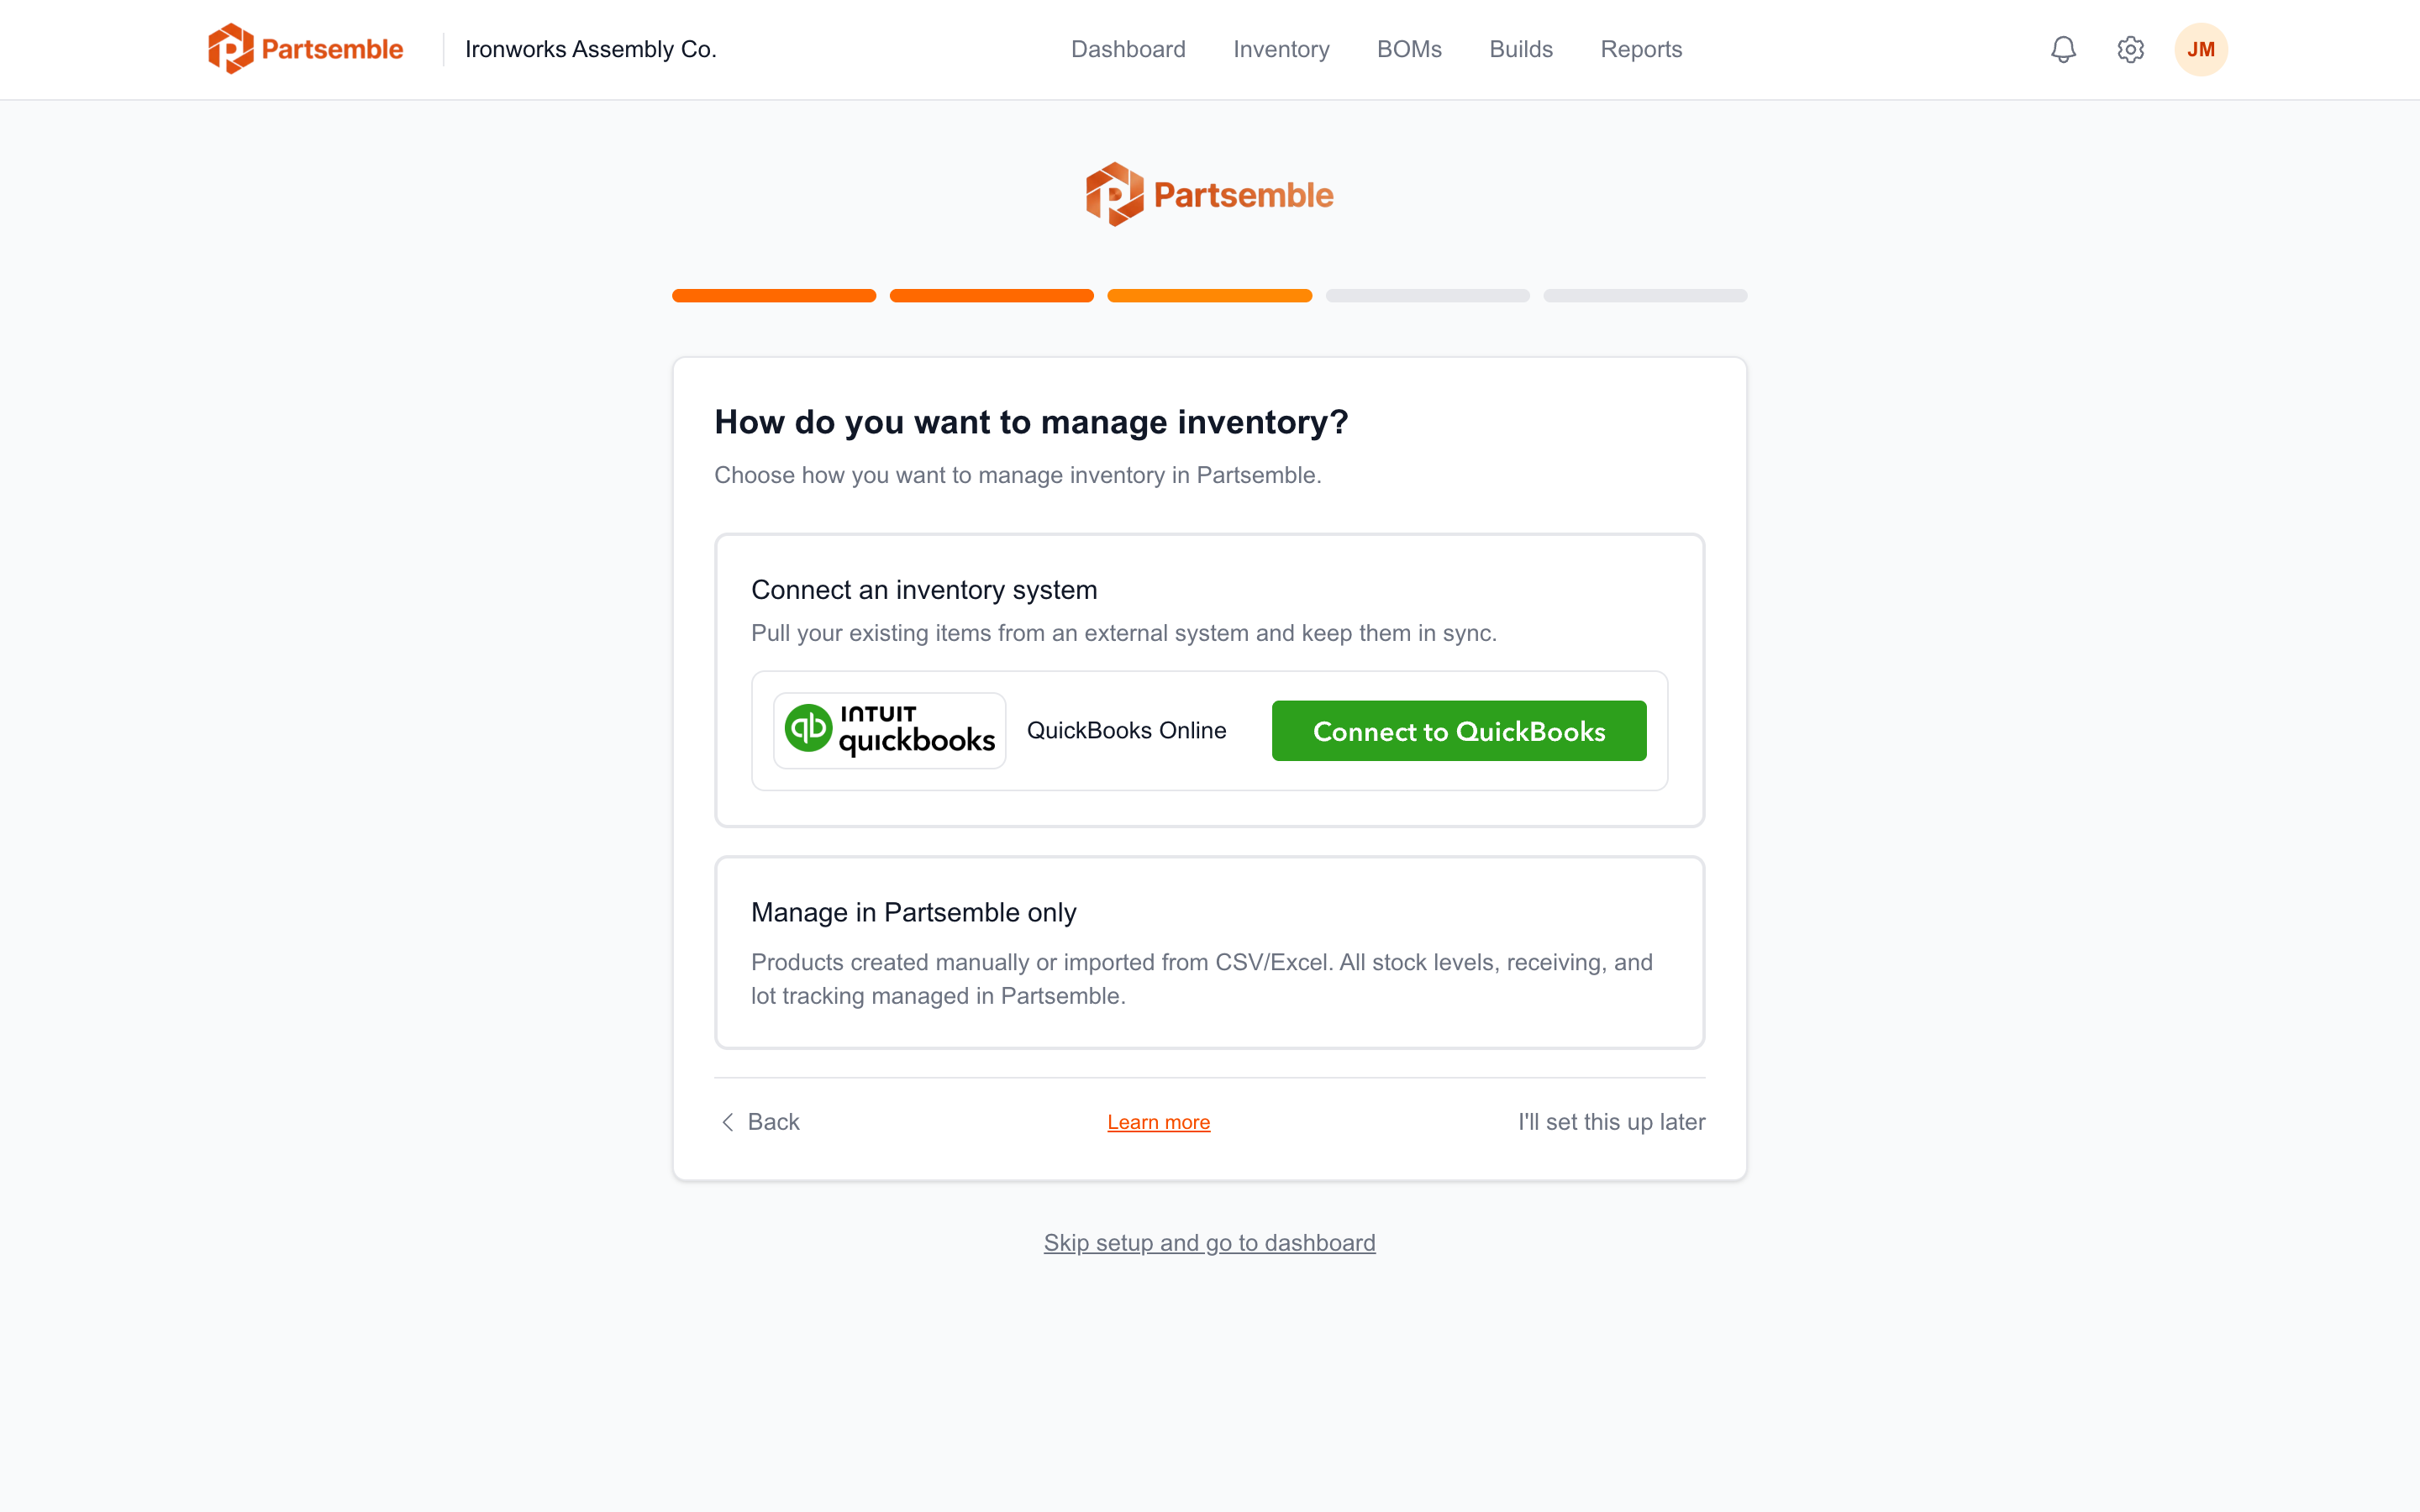
If you connected an accounting system, Partsemble asks how you want to manage inventory. This is an important decision with two options:
Sync with your accounting system. Partsemble pulls items from your accounting system and keeps them in sync. Your accounting system remains the system of record for inventory. Build exports include both inventory adjustments and journal entries.
Manage in Partsemble only. No items are pulled from your accounting system. You create and manage all products directly in Partsemble. Build exports include journal entries (COGS) only — no inventory adjustments.
Both options support connecting to accounting for build export. The difference is where your inventory data lives.
This choice is not permanent. You can switch between modes at any time in Settings → Integrations. See Choosing Your Inventory Source for a detailed comparison.
This step only appears for users on the Advanced plan or during the trial (which includes Advanced-level access). Maker and Pro users manage inventory in Partsemble by default.
Step 3: Configure Optional Features
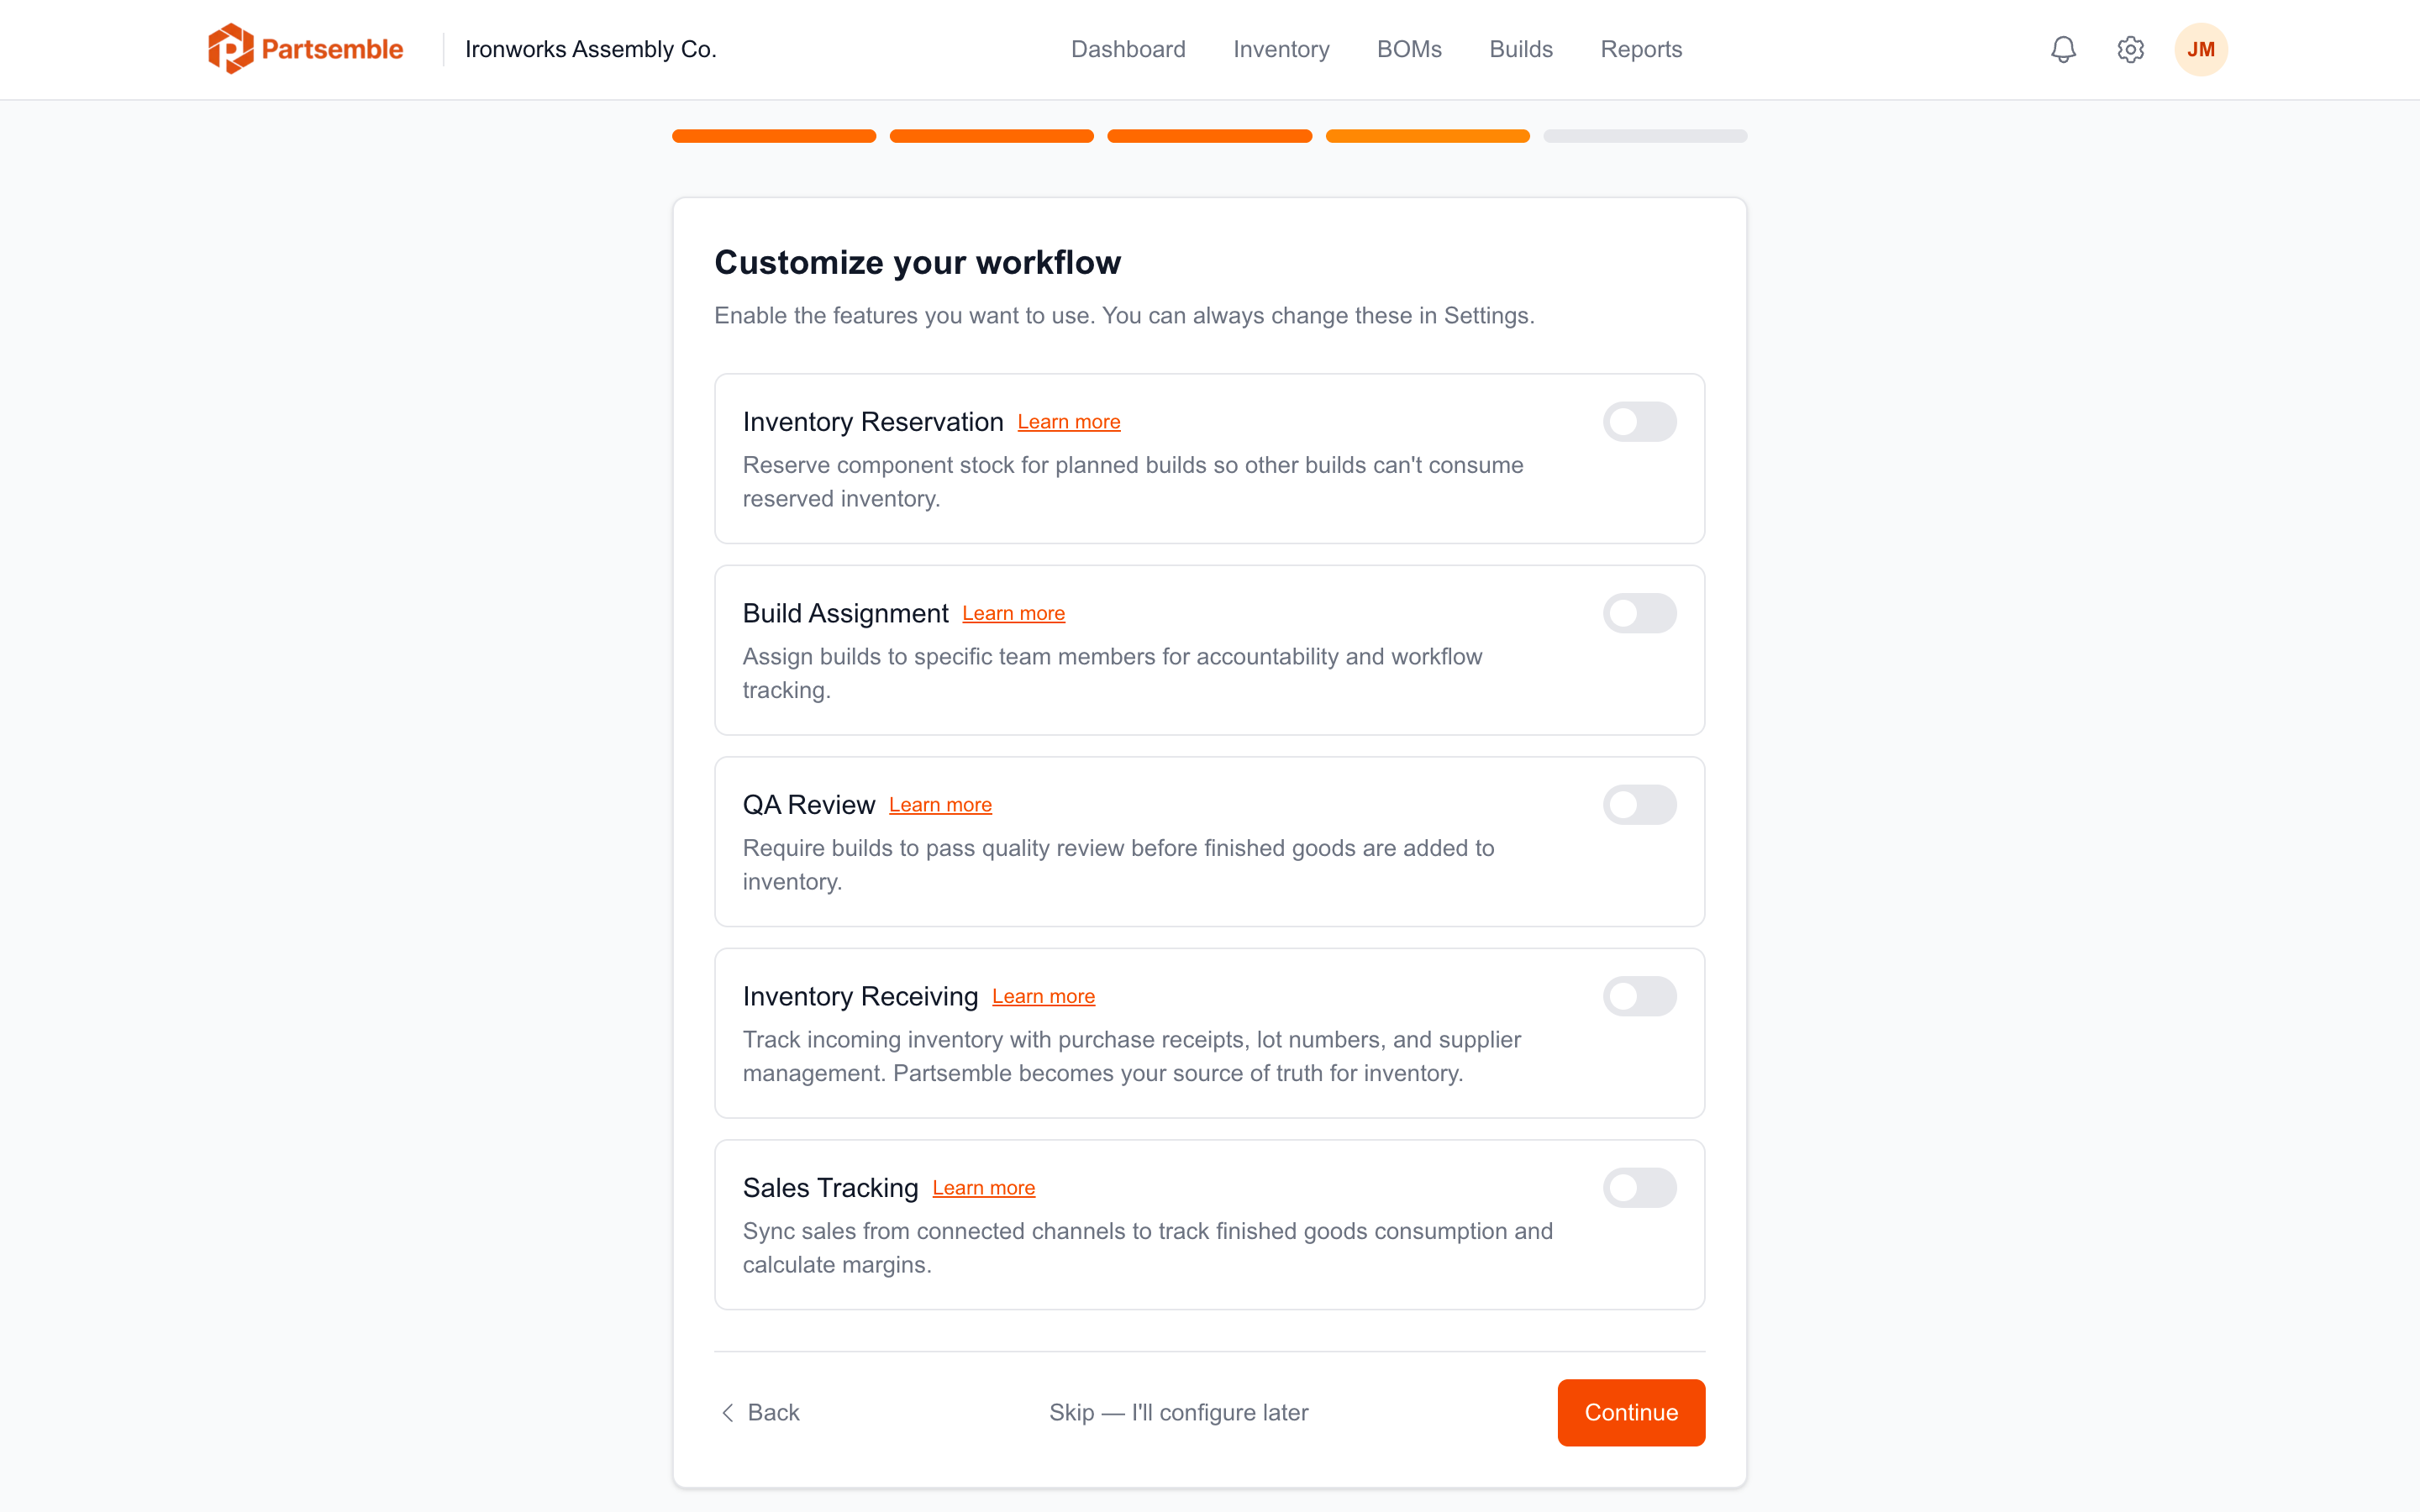
Depending on your plan, you can enable or disable several optional features. Each one adds functionality to your workflow:
Team management (Pro and above) — invite team members to your Partsemble account with role-based permissions.
Build assignment (Pro and above) — require planned builds to be assigned to a specific team member before execution.
QA review (Pro and above) — require builds to pass quality assurance review before finished goods are added to inventory.
Inventory reservation (Pro and above) — reserve component stock for planned builds so other builds can't consume it first.
Receiving and lot tracking (Advanced) — record incoming inventory with supplier info, lot numbers, and per-receipt costs. Lots are consumed automatically using FIFO during builds.
Sales tracking (Advanced) — sync sales from your accounting system to track finished goods consumption, margins, and stock shortages.
You can change any of these settings later in Settings → Business Settings. Nothing is locked in during setup.
This step only appears for Pro and Advanced users. Maker users start with the core feature set and can upgrade to unlock additional features.
Step 4: Orientation
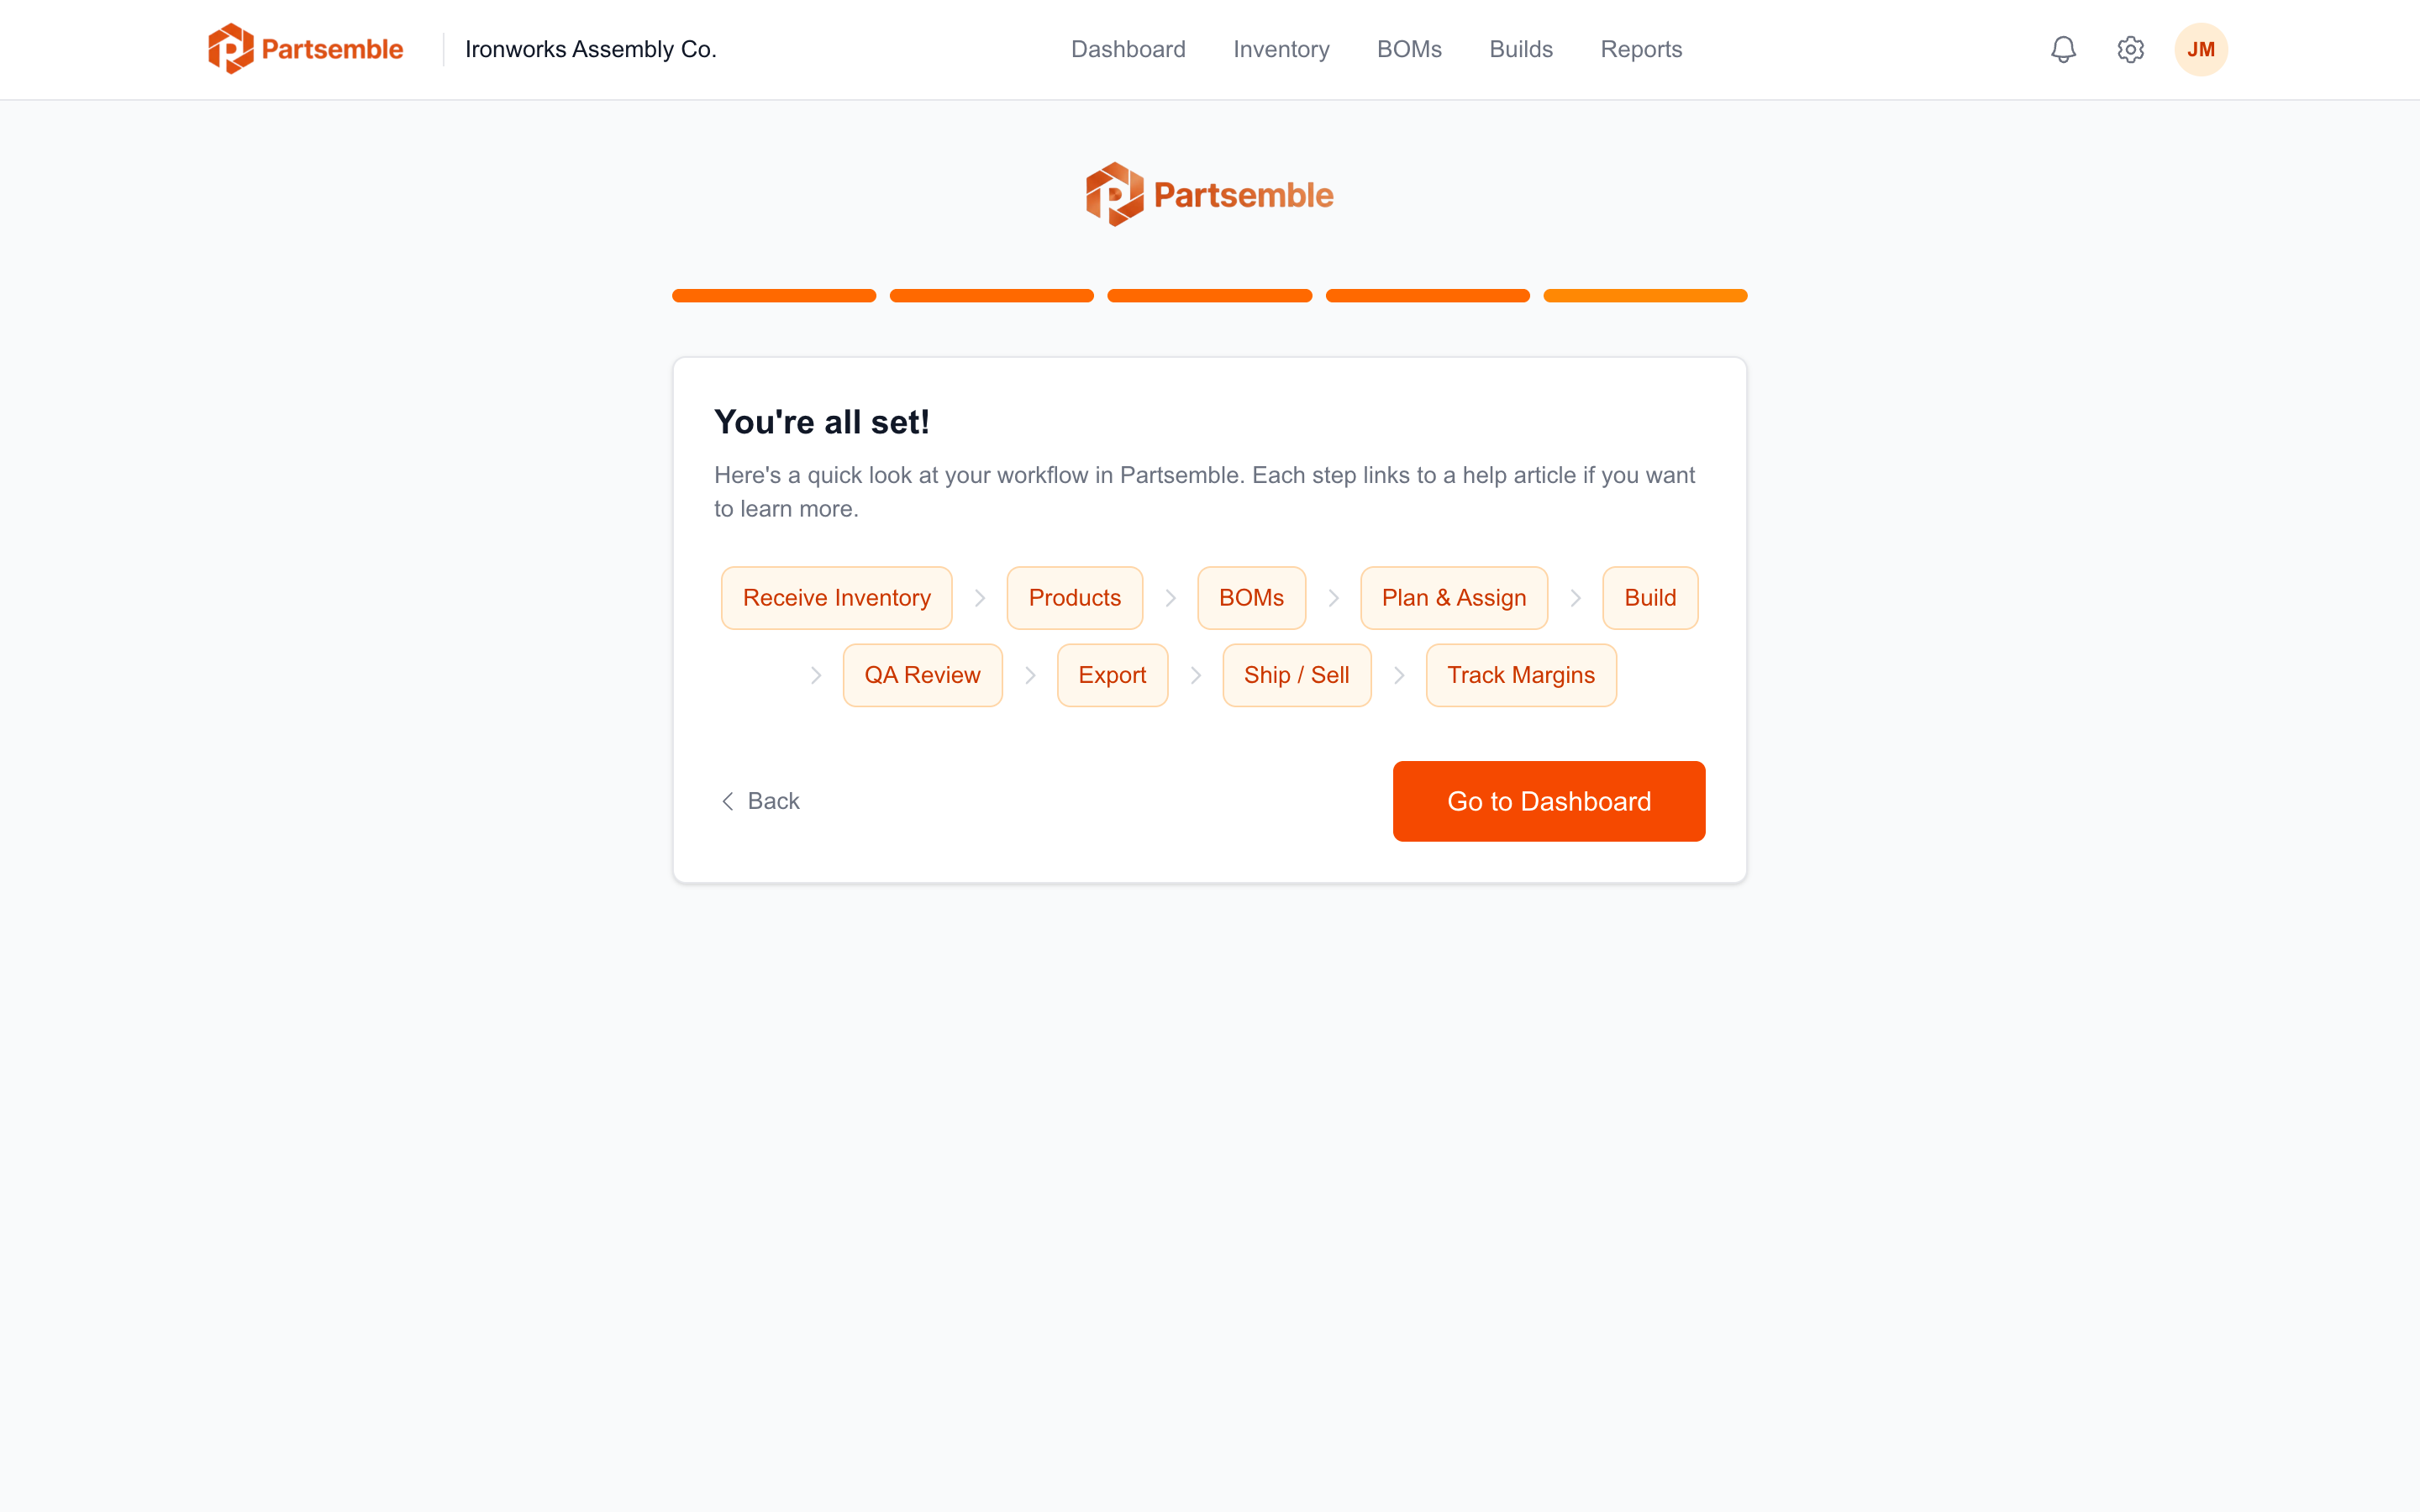
The final wizard step gives you a quick overview of the Partsemble workflow: define products, create BOMs, execute builds, and export to accounting. It highlights the key areas of the app and how they connect.
After the Wizard
Once you complete (or skip) the wizard, you land on your dashboard. A checklist widget appears with the recommended next steps for your account:
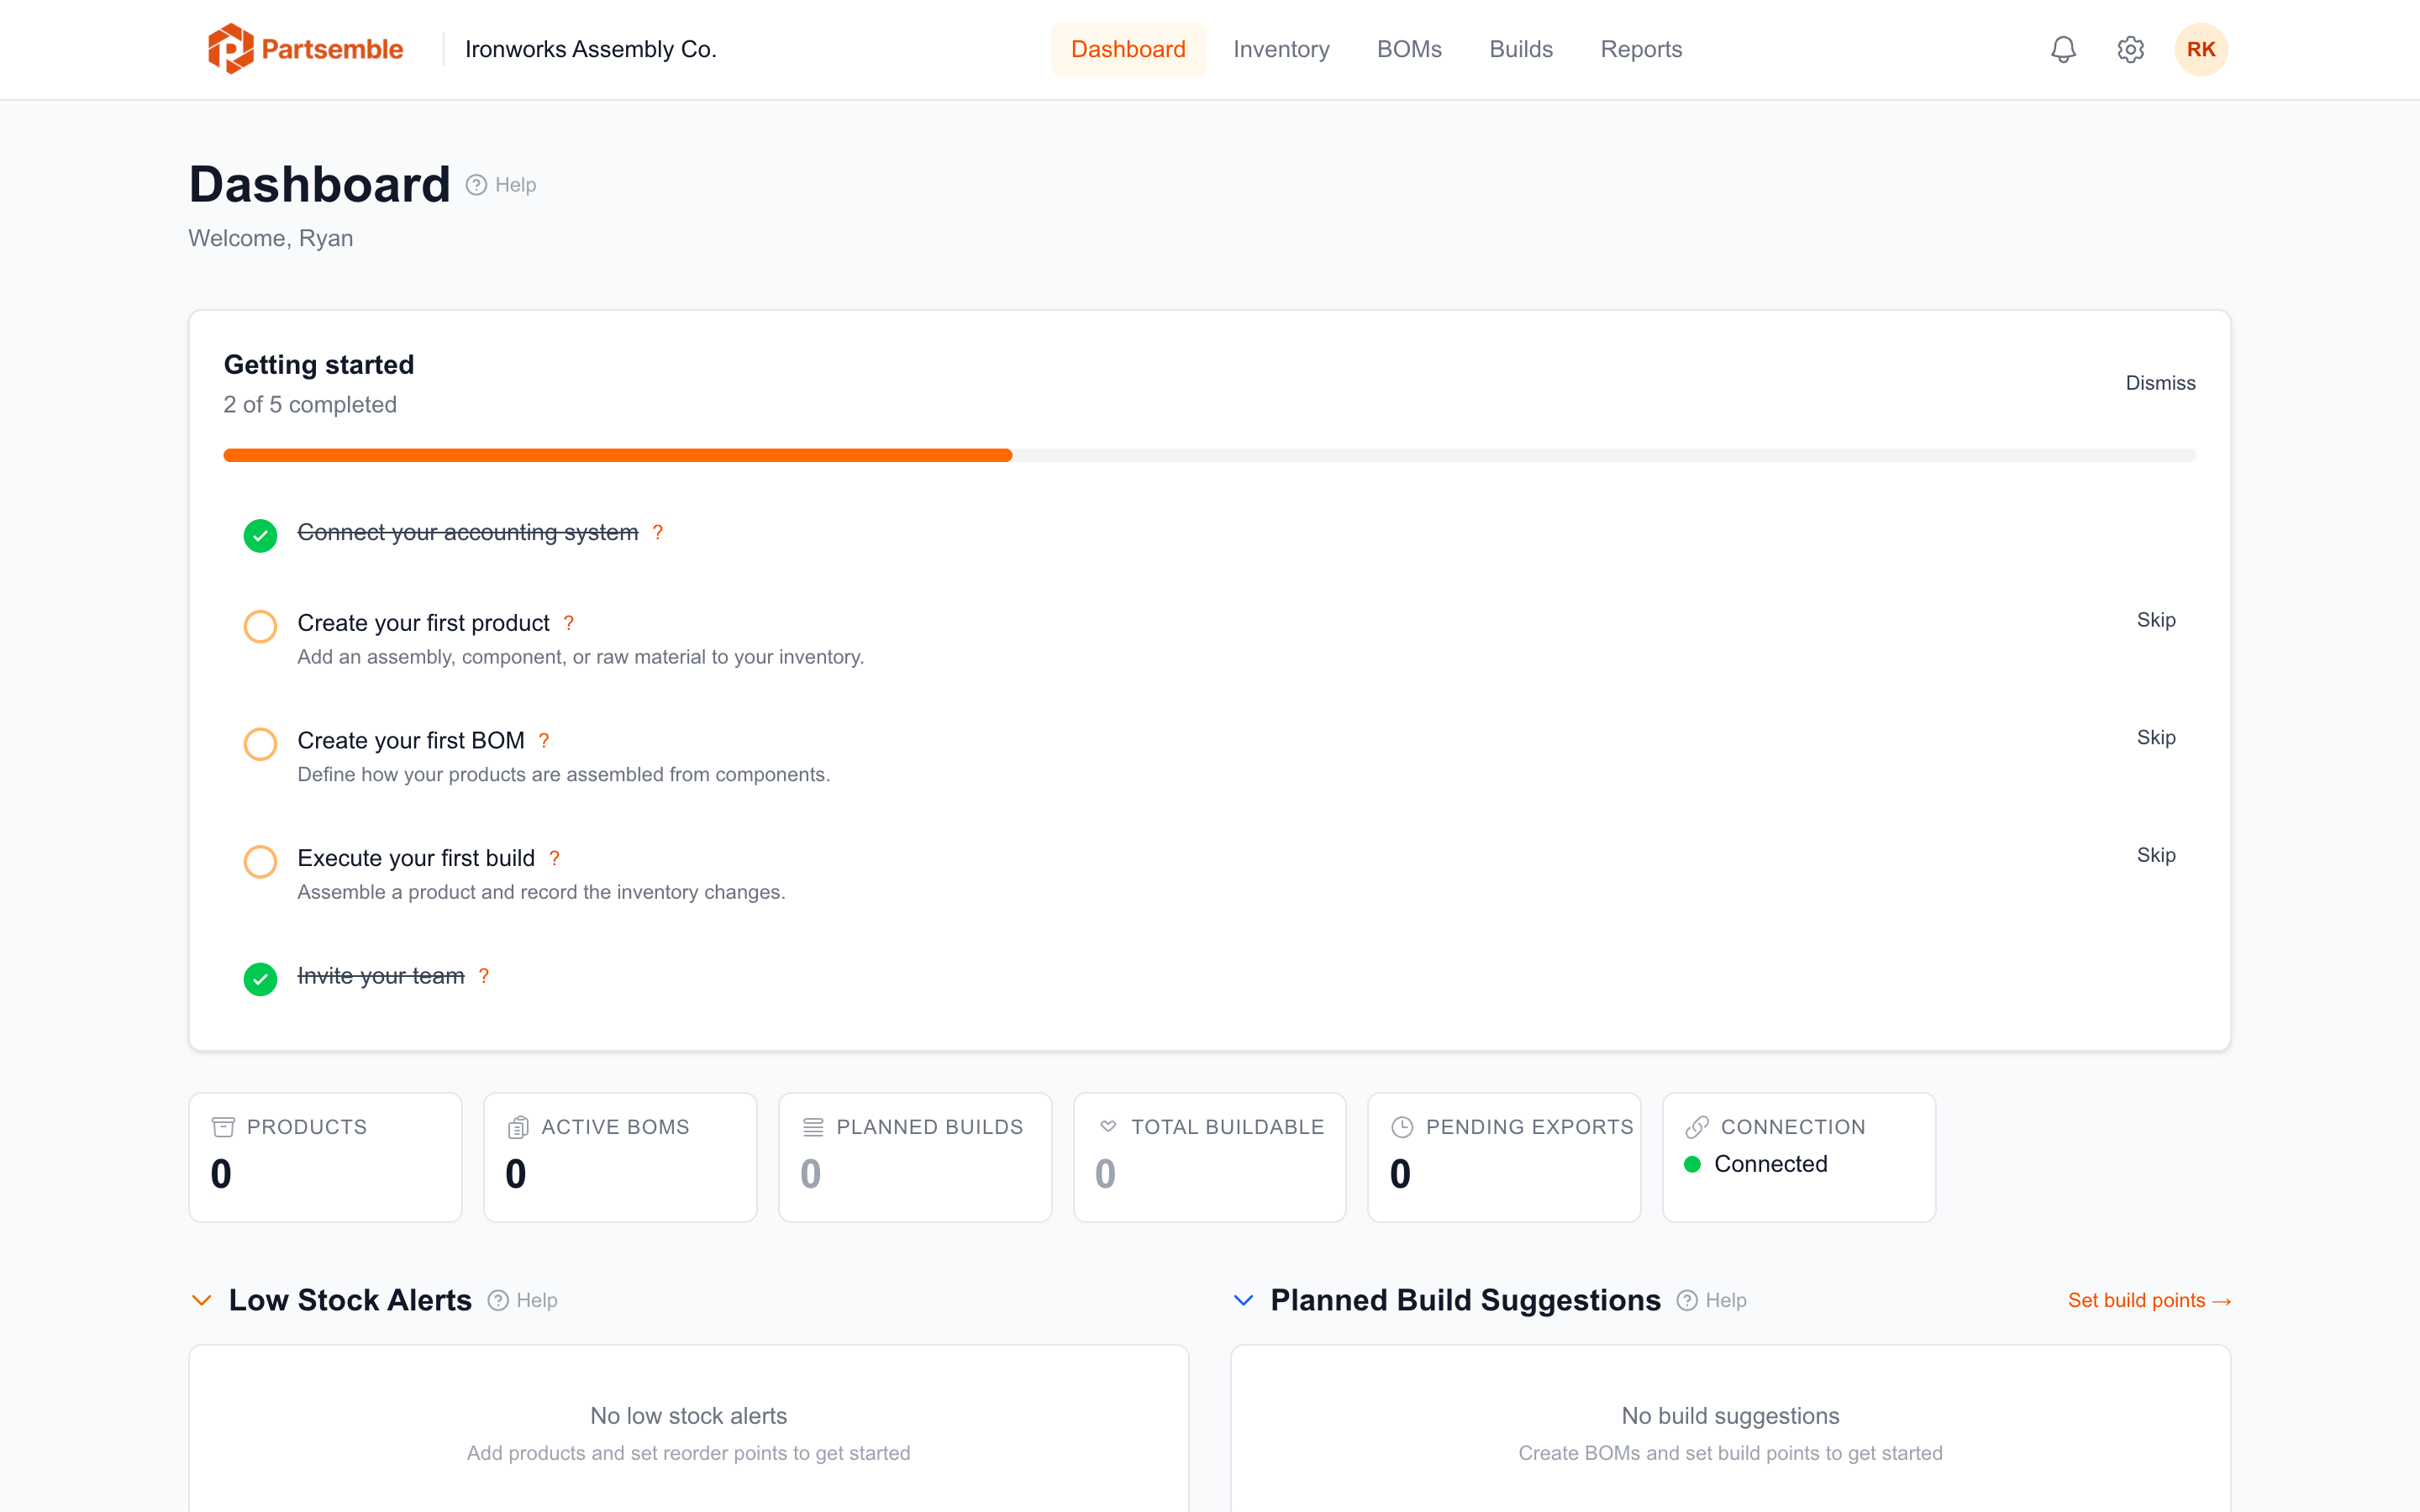
- Create your first product — or sync items from your accounting system
- Create your first BOM — define what goes into a product
- Execute your first build — run a quick build to see the full workflow
- Configure export accounts — select COGS and other accounts for build export
- Invite a team member — if you're on the Pro plan or above
The checklist tracks your progress automatically. Items are marked complete as you take each action — there's nothing to check off manually. You can dismiss the checklist at any time.
For a hands-on walkthrough of the core workflow, follow the Quickstart guide.