Quickstart
This guide walks you through your first 15 minutes in Partsemble. By the end, you'll have created a product, defined a bill of materials, and executed your first build. Everything here works on any plan, including the free trial.
Prerequisites
- A Partsemble account (sign up at partsemble.com)
- The onboarding wizard completed or skipped (see Initial Setup if you need help with that)
1. Create Your Components
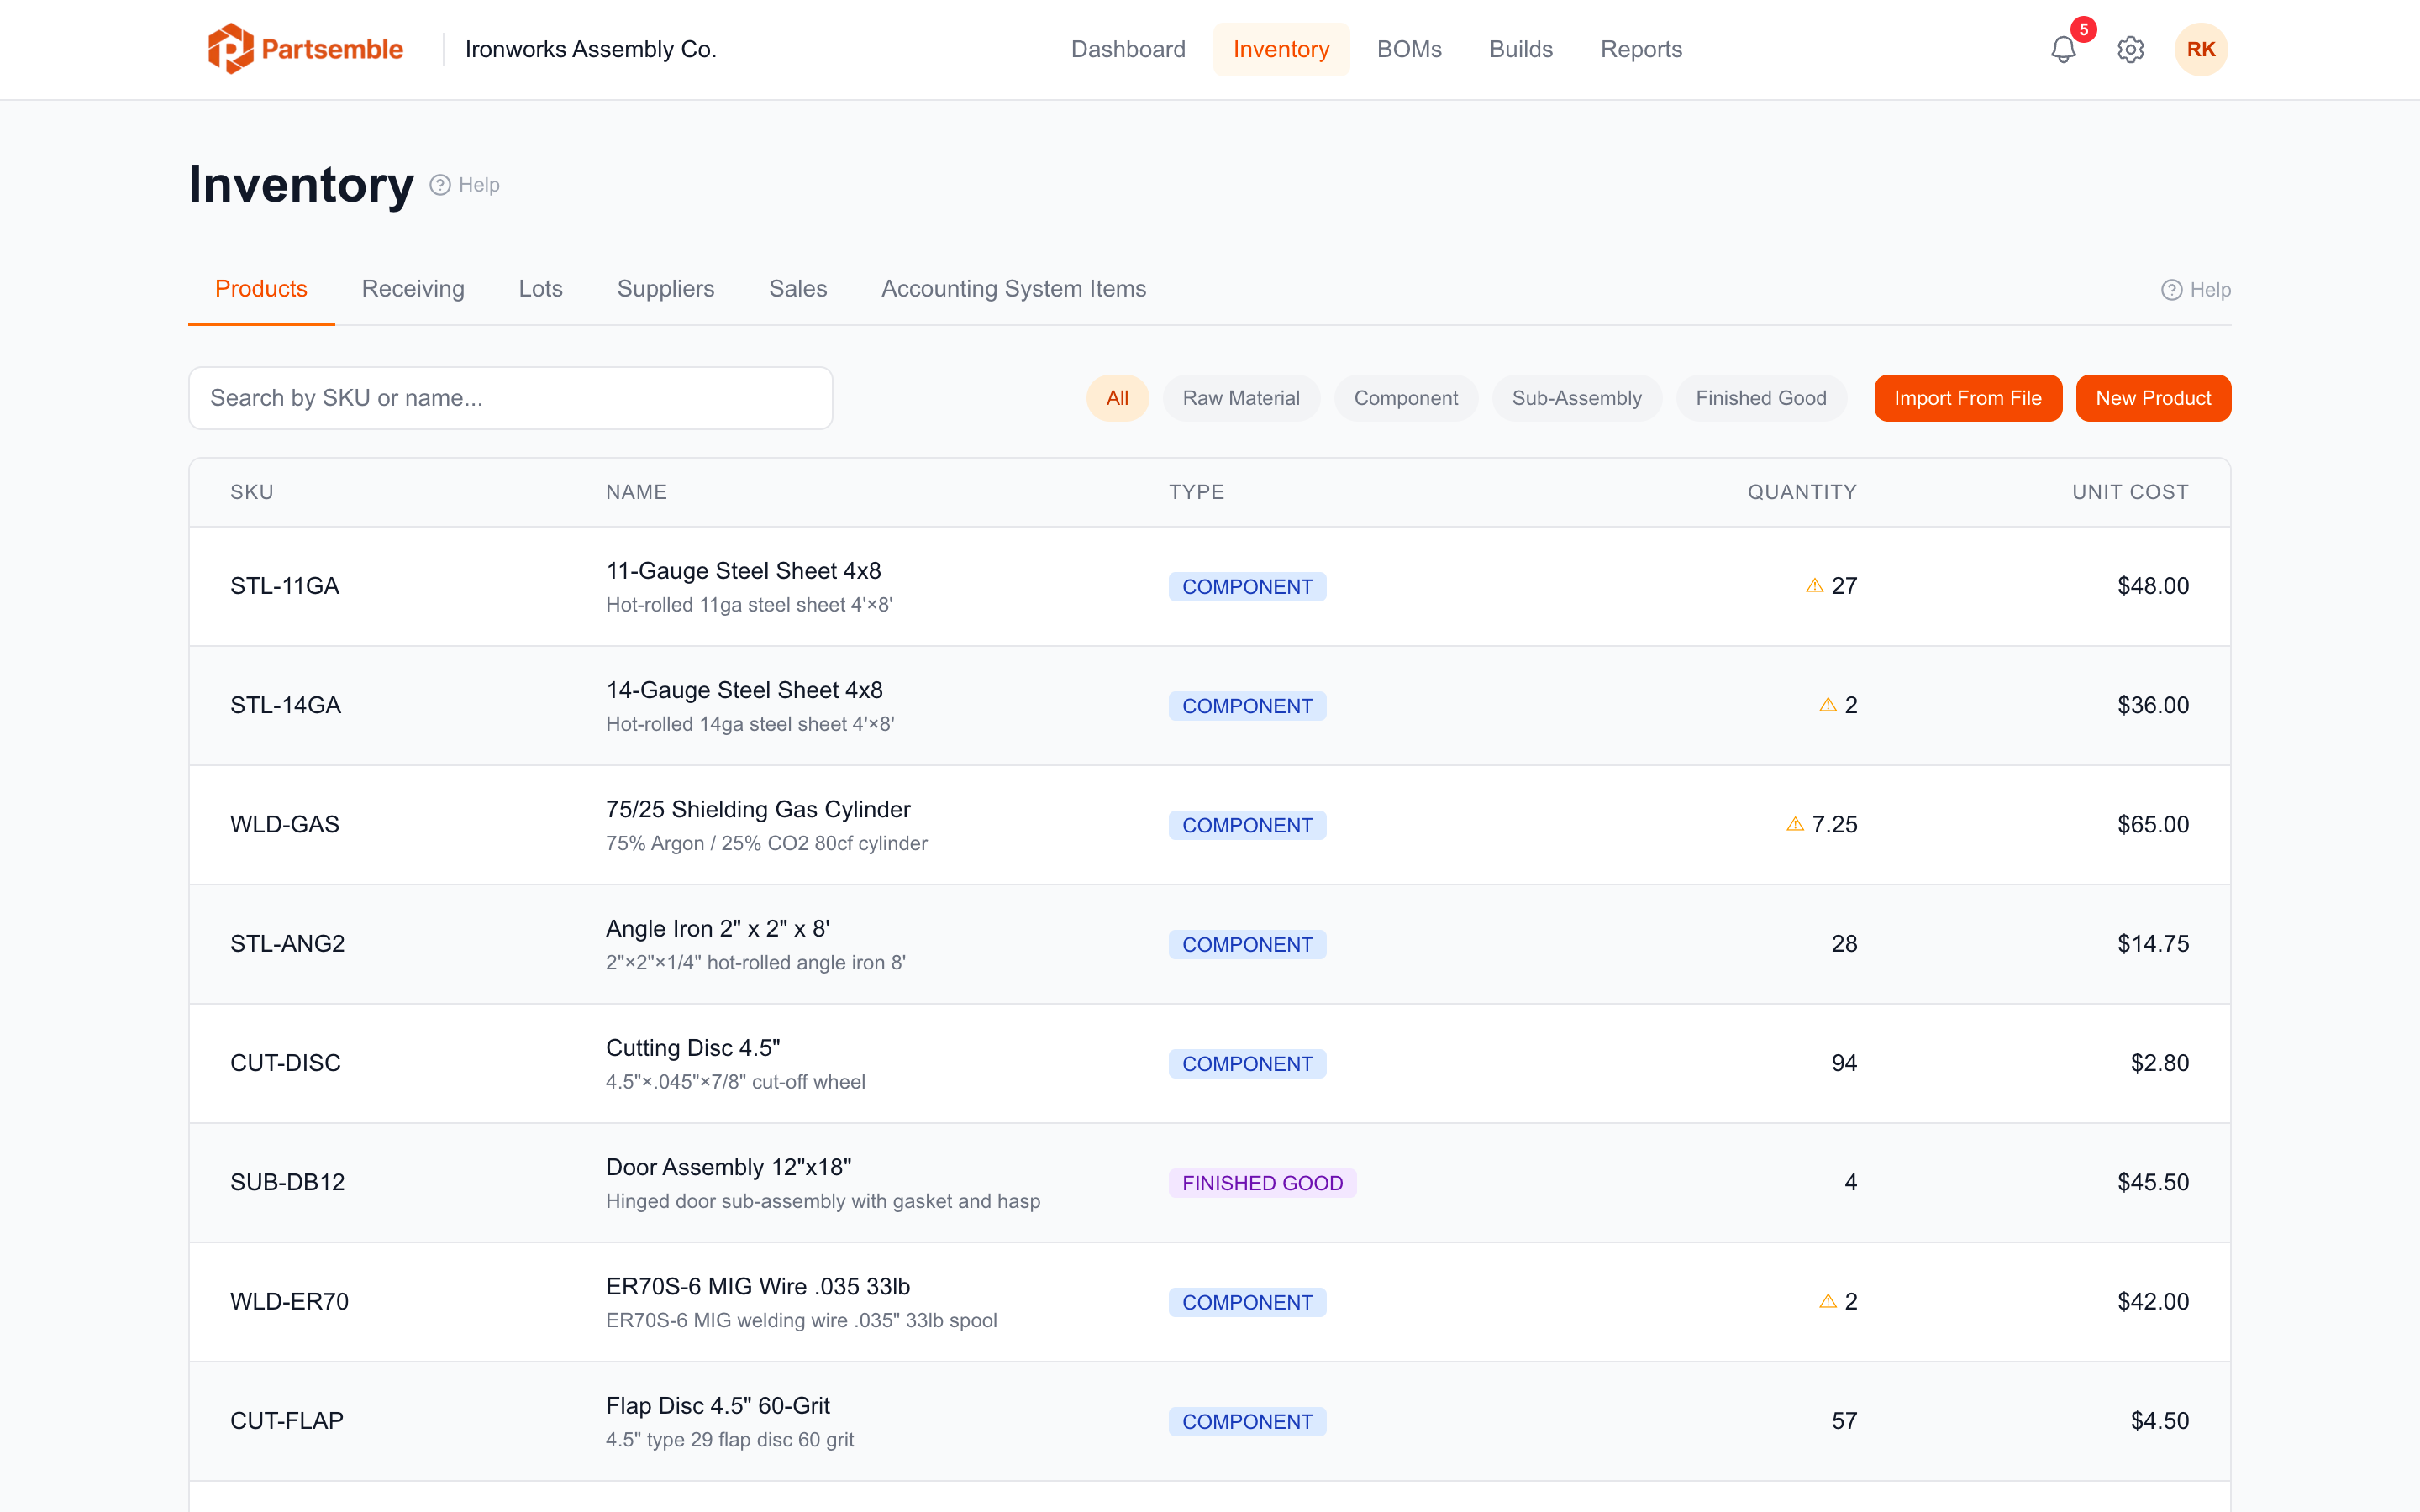
Before you can build a finished good, you need the components that go into it. Let's create two raw materials.
Navigate to Products in the left sidebar and click New Product.
Fill in the first component:
- Name: 14-Gauge Steel Plate
- SKU: STL-PLATE-001
- Type: Raw Material
- Unit Cost: $12.00
- Stock on Hand: 50
Click Save, then create a second component:
- Name: Hex Bolt 3/8"
- SKU: HW-BOLT-001
- Type: Raw Material
- Unit Cost: $0.85
- Stock on Hand: 200
You now have two raw materials in inventory.
If you connected your accounting system and chose to sync items, your existing inventory items are already available. You can skip creating components manually and use your synced items instead.
2. Create Your Finished Good
Create one more product — the thing you're going to build.
Click New Product again:
- Name: Shelf Bracket
- SKU: BRK-SHELF-001
- Type: Finished Good
- Stock on Hand: 0 (you haven't built any yet)
3. Create a Bill of Materials
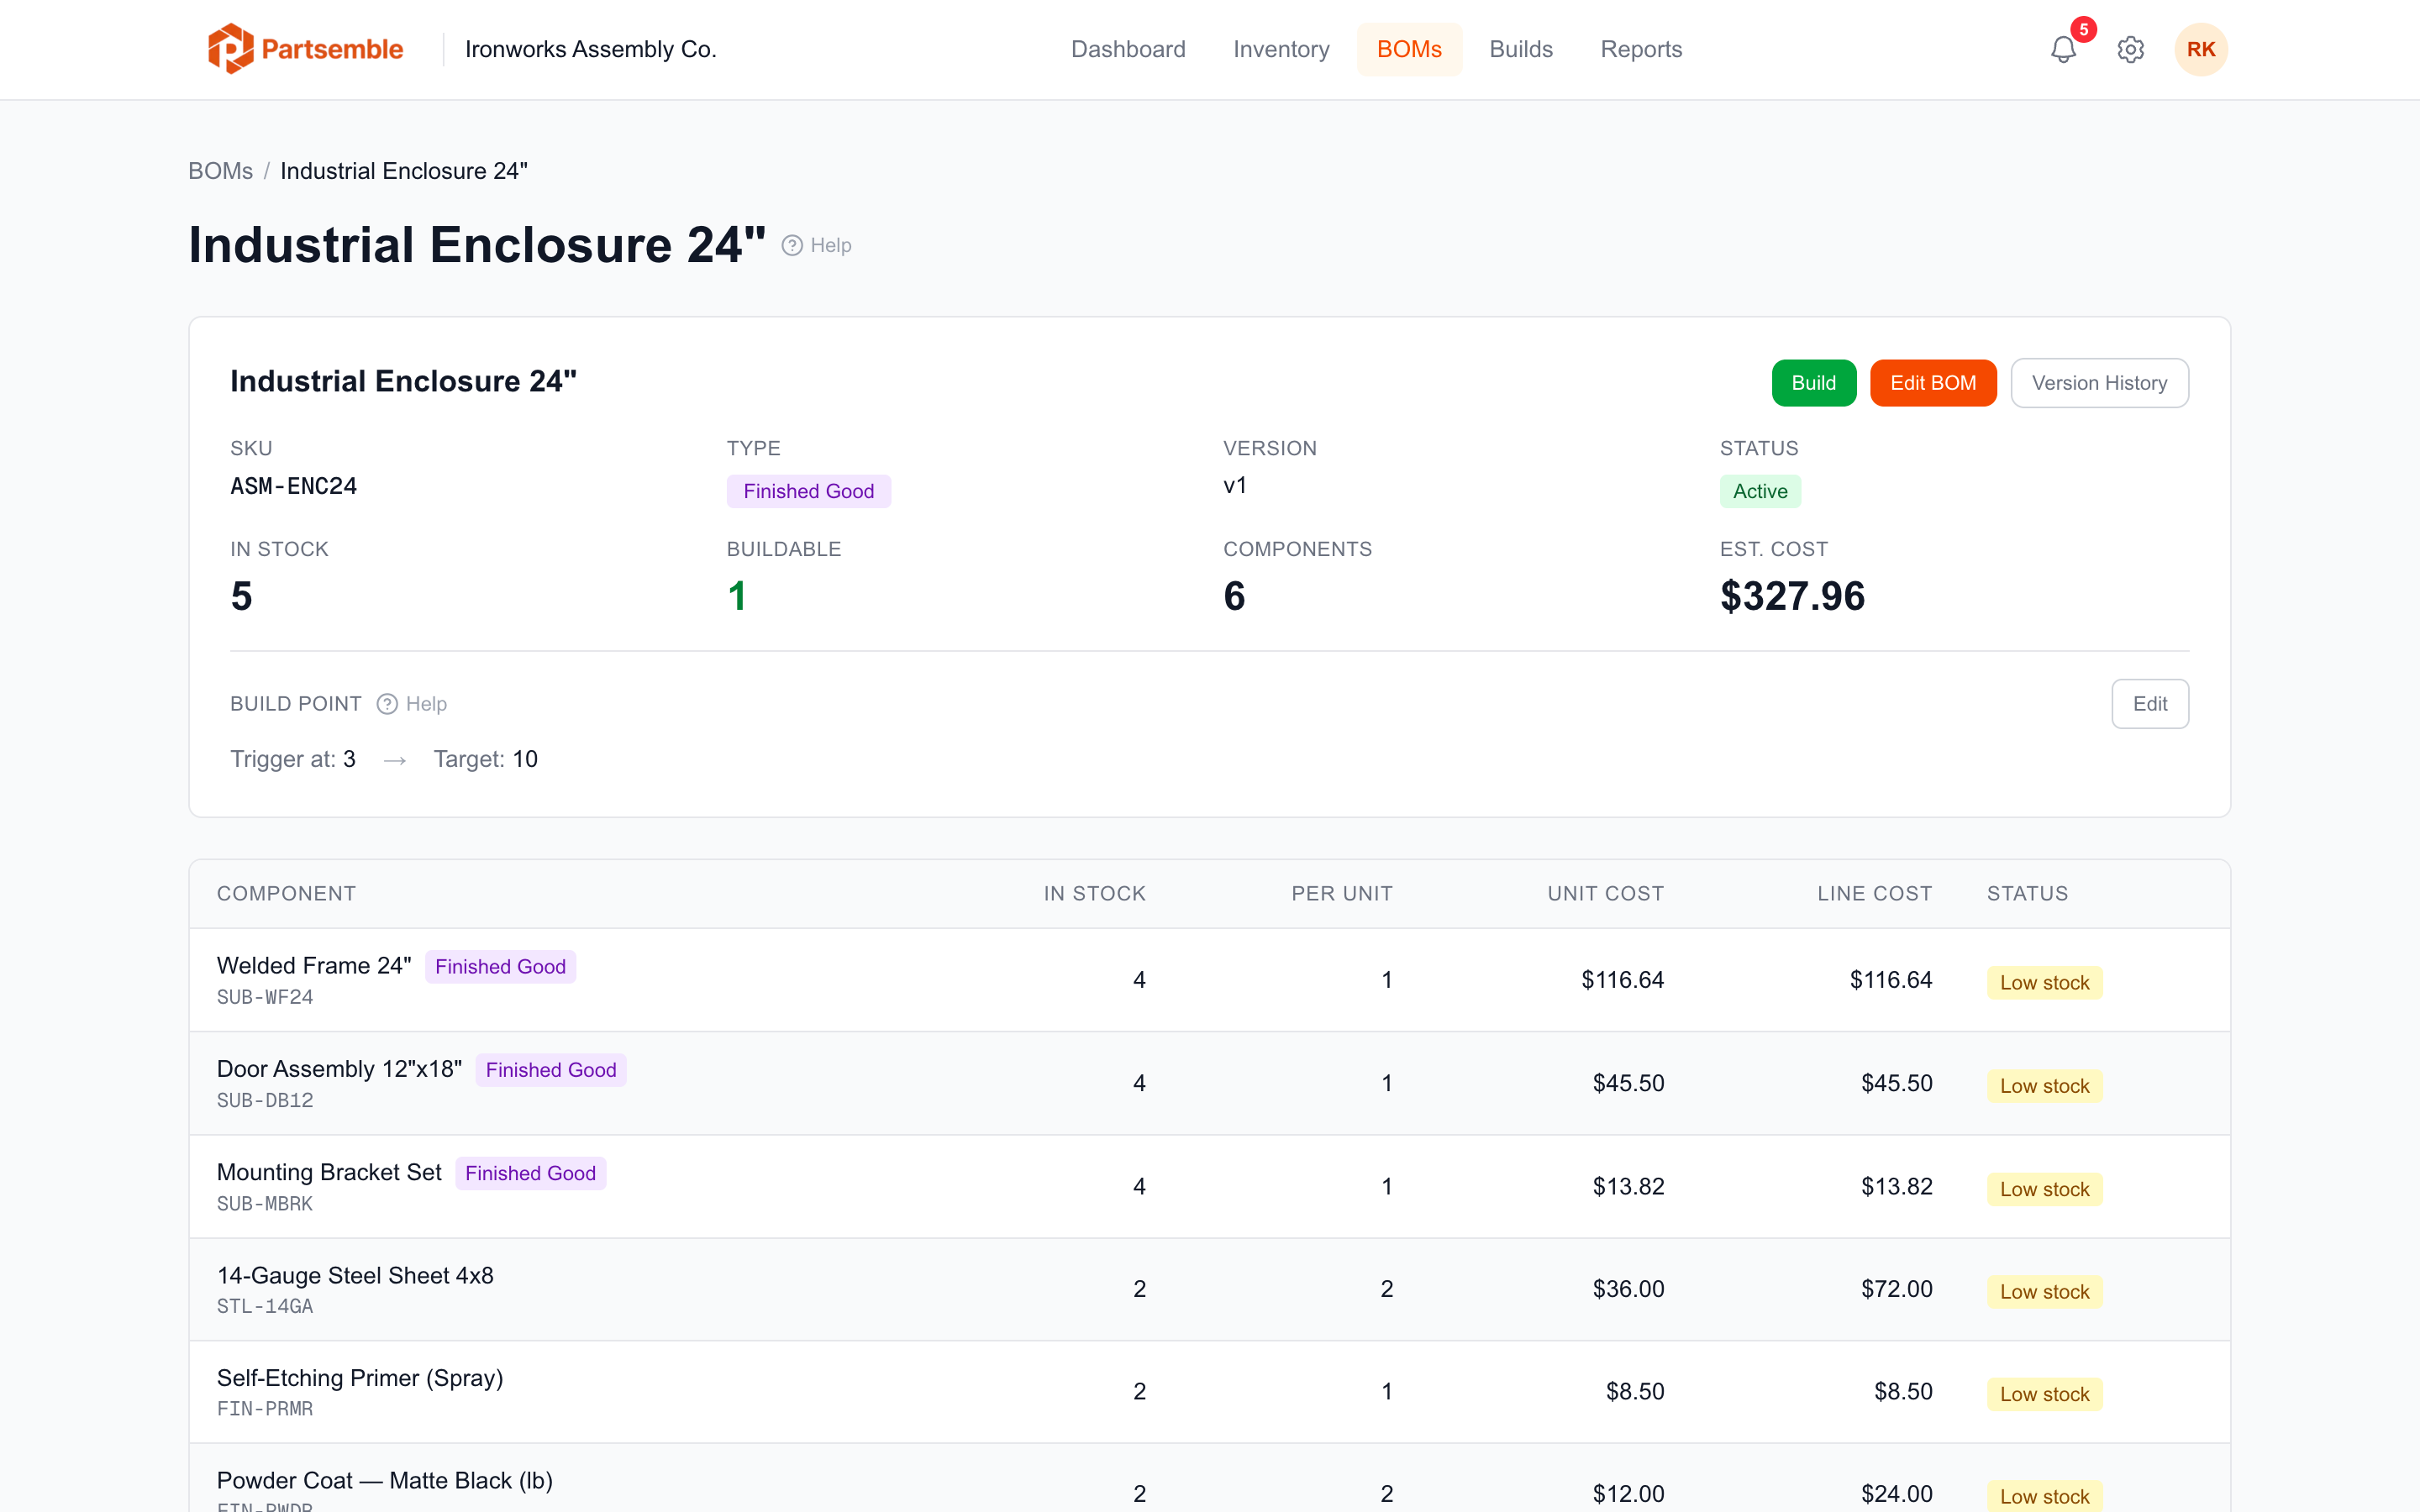
Now define what goes into your shelf bracket. Navigate to BOMs in the left sidebar and click New BOM. Your BOM will look similar to the Industrial Enclosure example pictured above, just with fewer components.
Select Shelf Bracket as the product. Then add the components:
| Component | Quantity |
|---|---|
| 14-Gauge Steel Plate | 2 |
| Hex Bolt 3/8" | 1 |
The BOM preview shows the estimated cost per unit: (2 × $12.00) + (1 × $0.85) = $24.85.
Click Save. The BOM is created in Active status, ready for building.
This is a simplified example. Real BOMs often include more components, sub-assemblies, and cost lines for labor or overhead — like the multi-level Industrial Enclosure BOM shown above. See Creating BOMs for the full guide.
4. Execute Your First Build
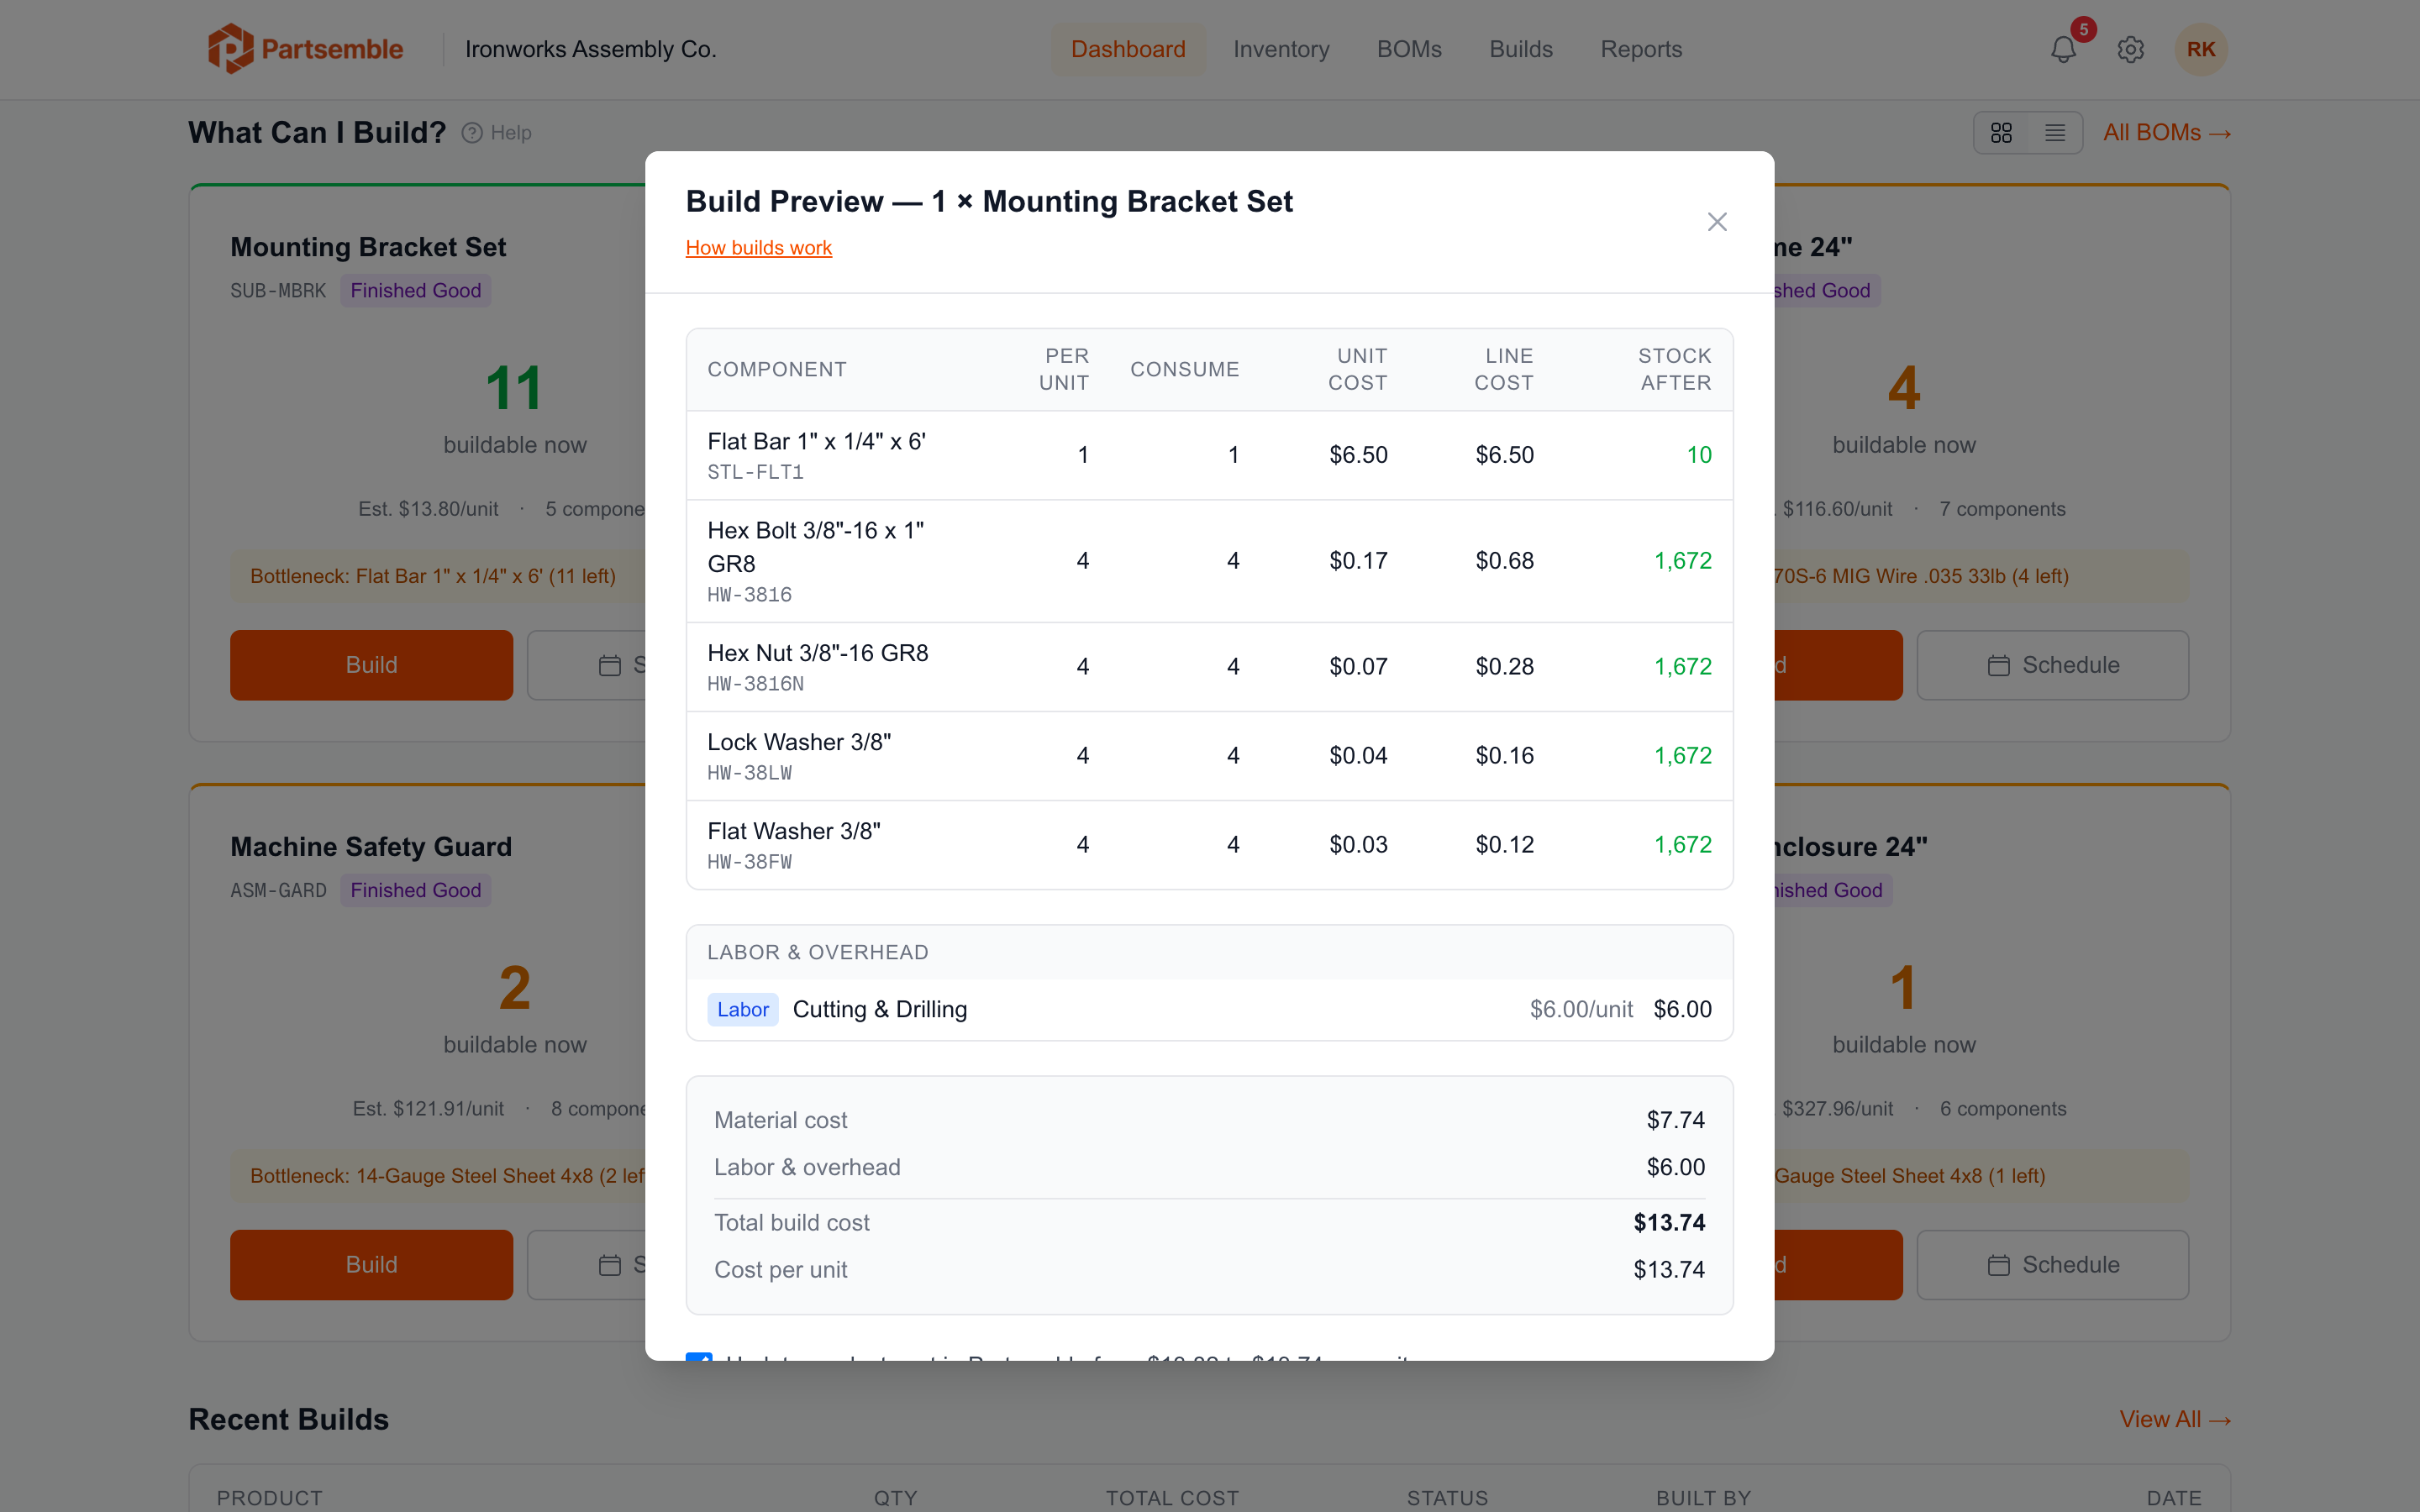
Navigate to Builds in the left sidebar and click Quick Build.
Select Shelf Bracket and set the quantity to 10.
Partsemble shows you a build preview: the components that will be consumed, the quantities, and the total cost. For 10 brackets, you'll consume 20 units of 14-Gauge Steel Plate and 10 Hex Bolts, for a total cost of $248.50.
Review the preview and click Execute Build.
5. Check the Results
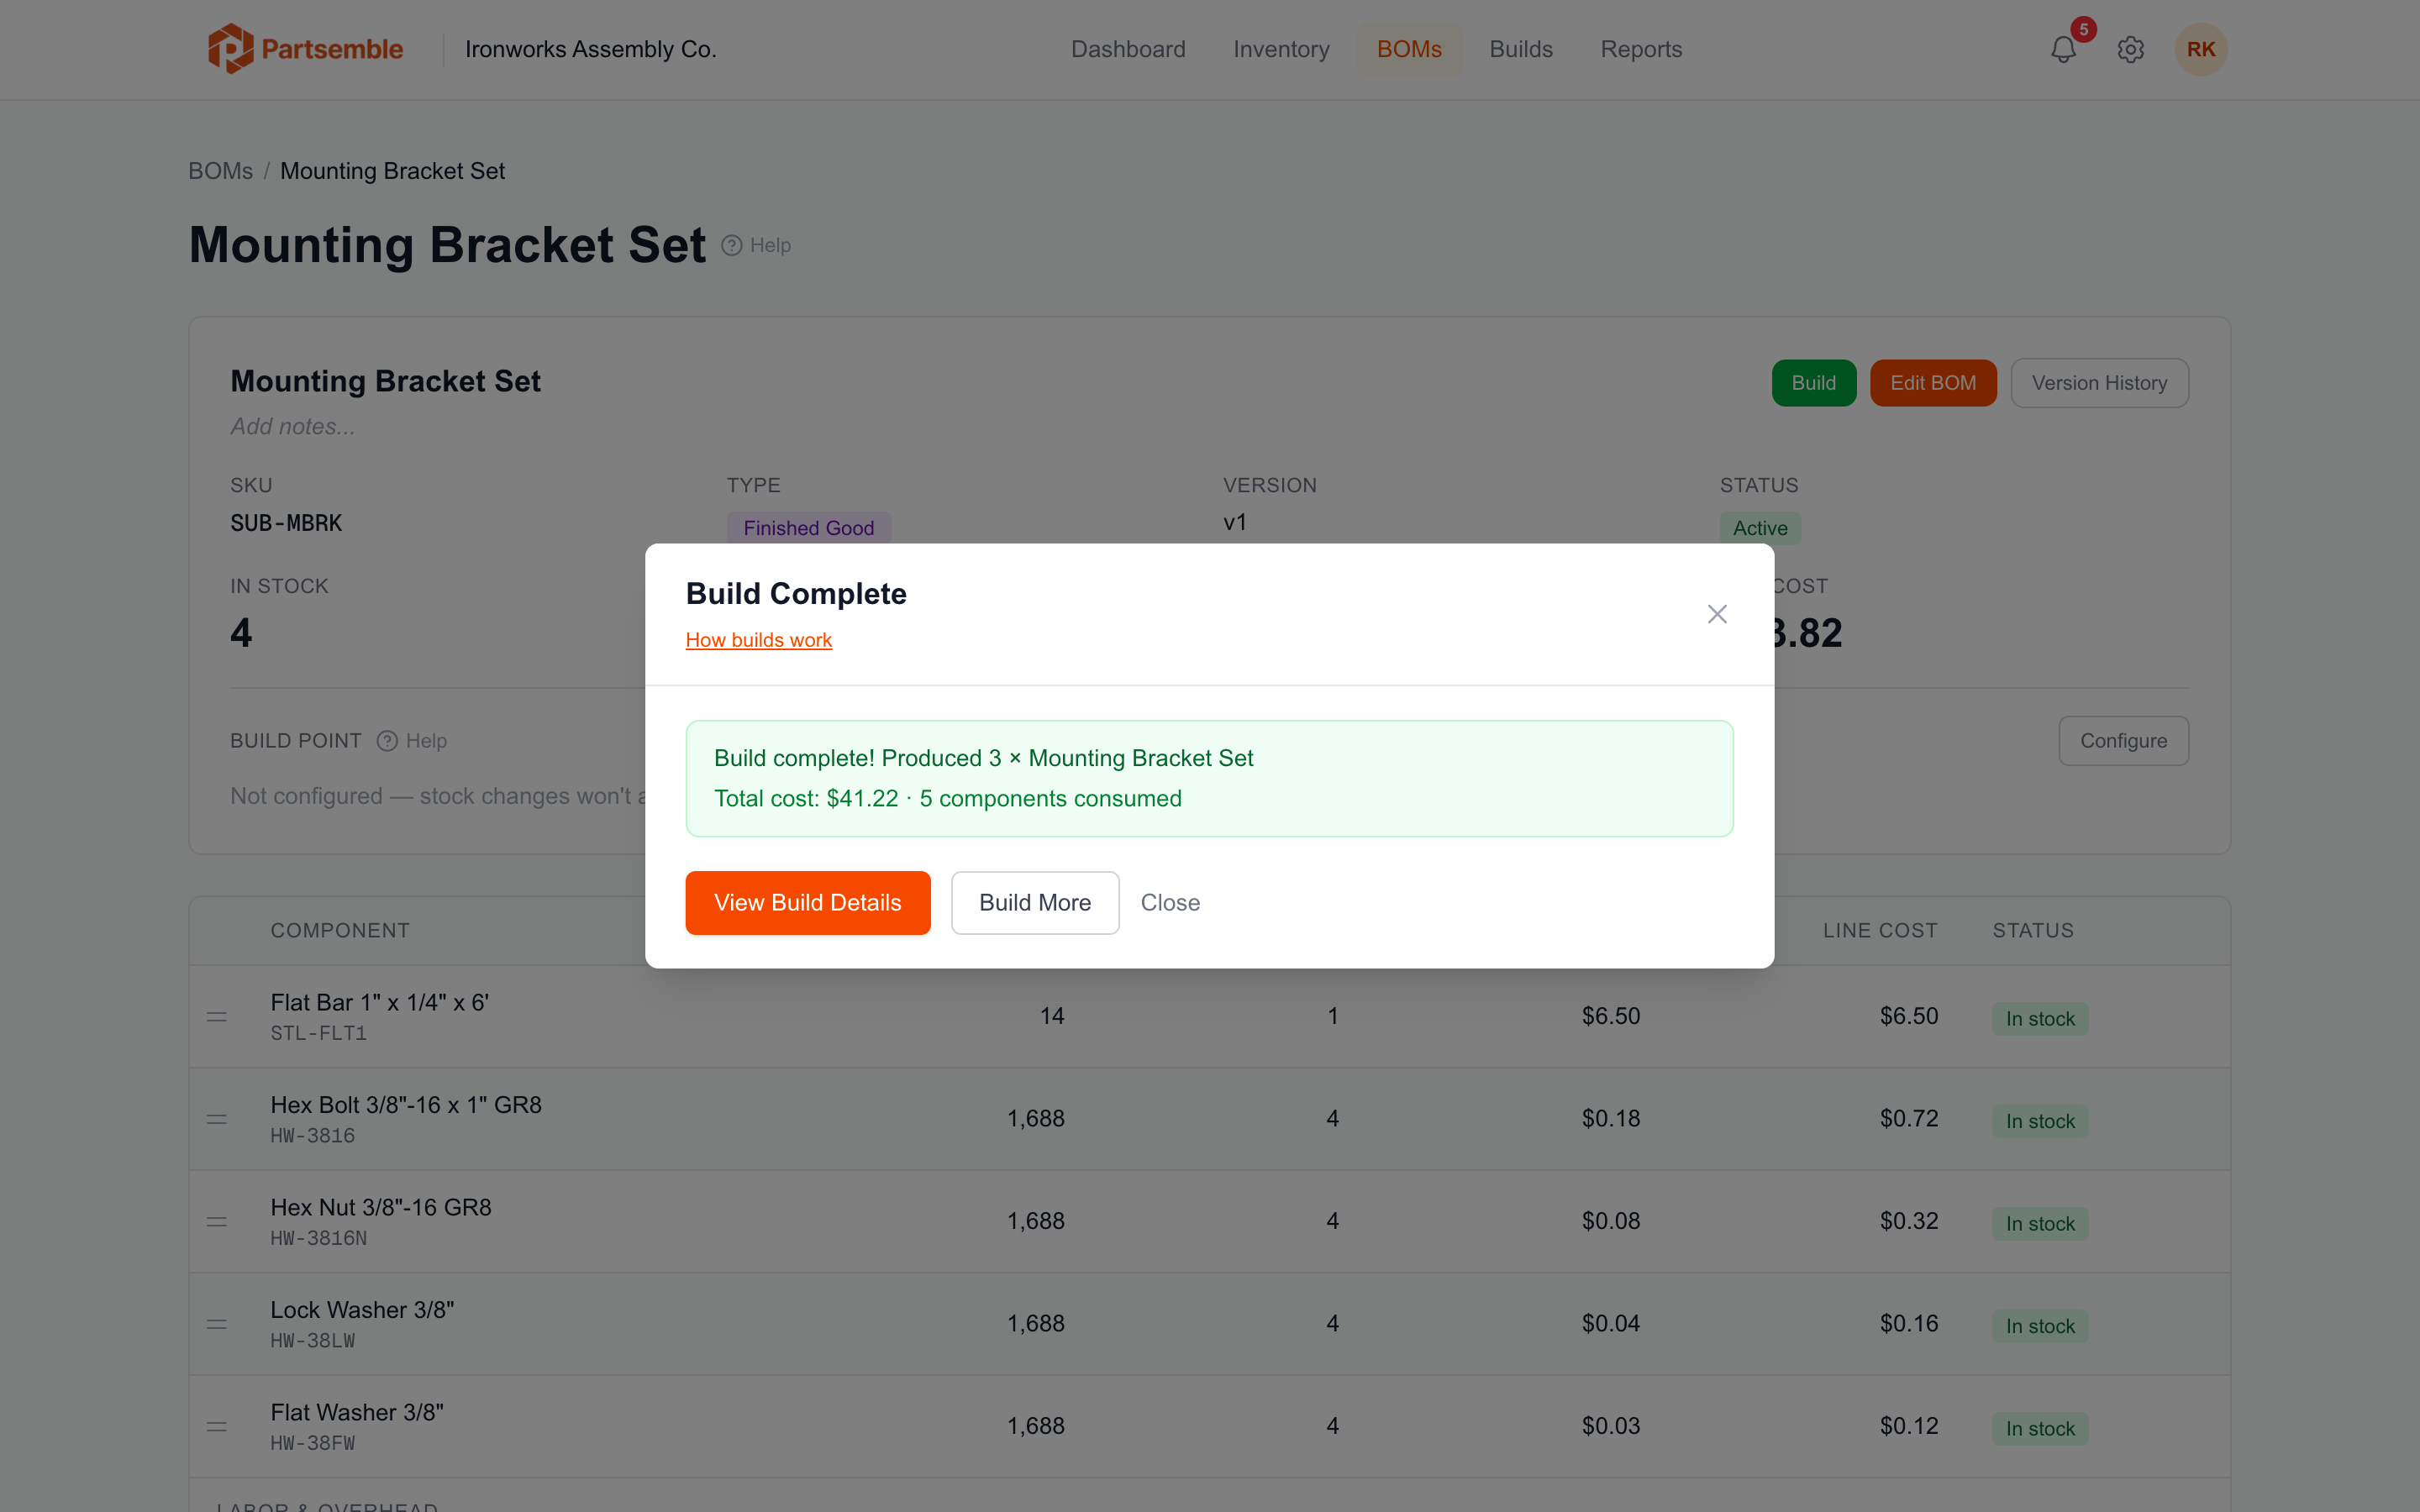
After the build executes, three things happen:
Component stock decreases. Go to Products and check your raw materials. 14-Gauge Steel Plate should now show 30 units (was 50, consumed 20). Hex Bolts should show 190 (was 200, consumed 10).
Finished good stock increases. Shelf Bracket now shows 10 units in stock, with a unit cost of $24.85.
Build history is recorded. Navigate to Builds and you'll see your completed build with the date, quantity, cost, and sync status.
6. Export to Accounting (Optional)
If you've connected your accounting system and configured a COGS account, the build is ready to export.
Depending on your export settings, this may happen automatically or you may need to click Export on the build detail page. The export creates the appropriate transactions in your accounting system: inventory adjustments for the component consumption and finished good production.
See Exporting Builds for more details on how this works.
What's Next?
You've covered the core workflow: products → BOM → build. Here's where to go from here:
Set up reorder points. Edit your raw materials and set a reorder point so the dashboard warns you before you run out. See Reorder and Build Points.
Plan builds in advance. Instead of quick builds, try creating a planned build with a target date and adding it to your Build Queue.
Explore your dashboard. The Dashboard shows low-stock alerts, build suggestions, and a quick view of your production activity.
Invite your team. On the Pro plan and above, you can add team members and assign builds. See Team Management.