Connecting QuickBooks Online
This guide walks you through connecting your QuickBooks Online account to Partsemble. Once connected, you can sync your items, export build transactions, and keep your accounting accurate without manual data entry.
Prerequisites
- A QuickBooks Online account (Simple Start, Essentials, Plus, or Advanced)
- A Partsemble account on any plan (Maker, Pro, or Advanced)
- Admin access to your QuickBooks company
Steps
1. Open the integrations settings
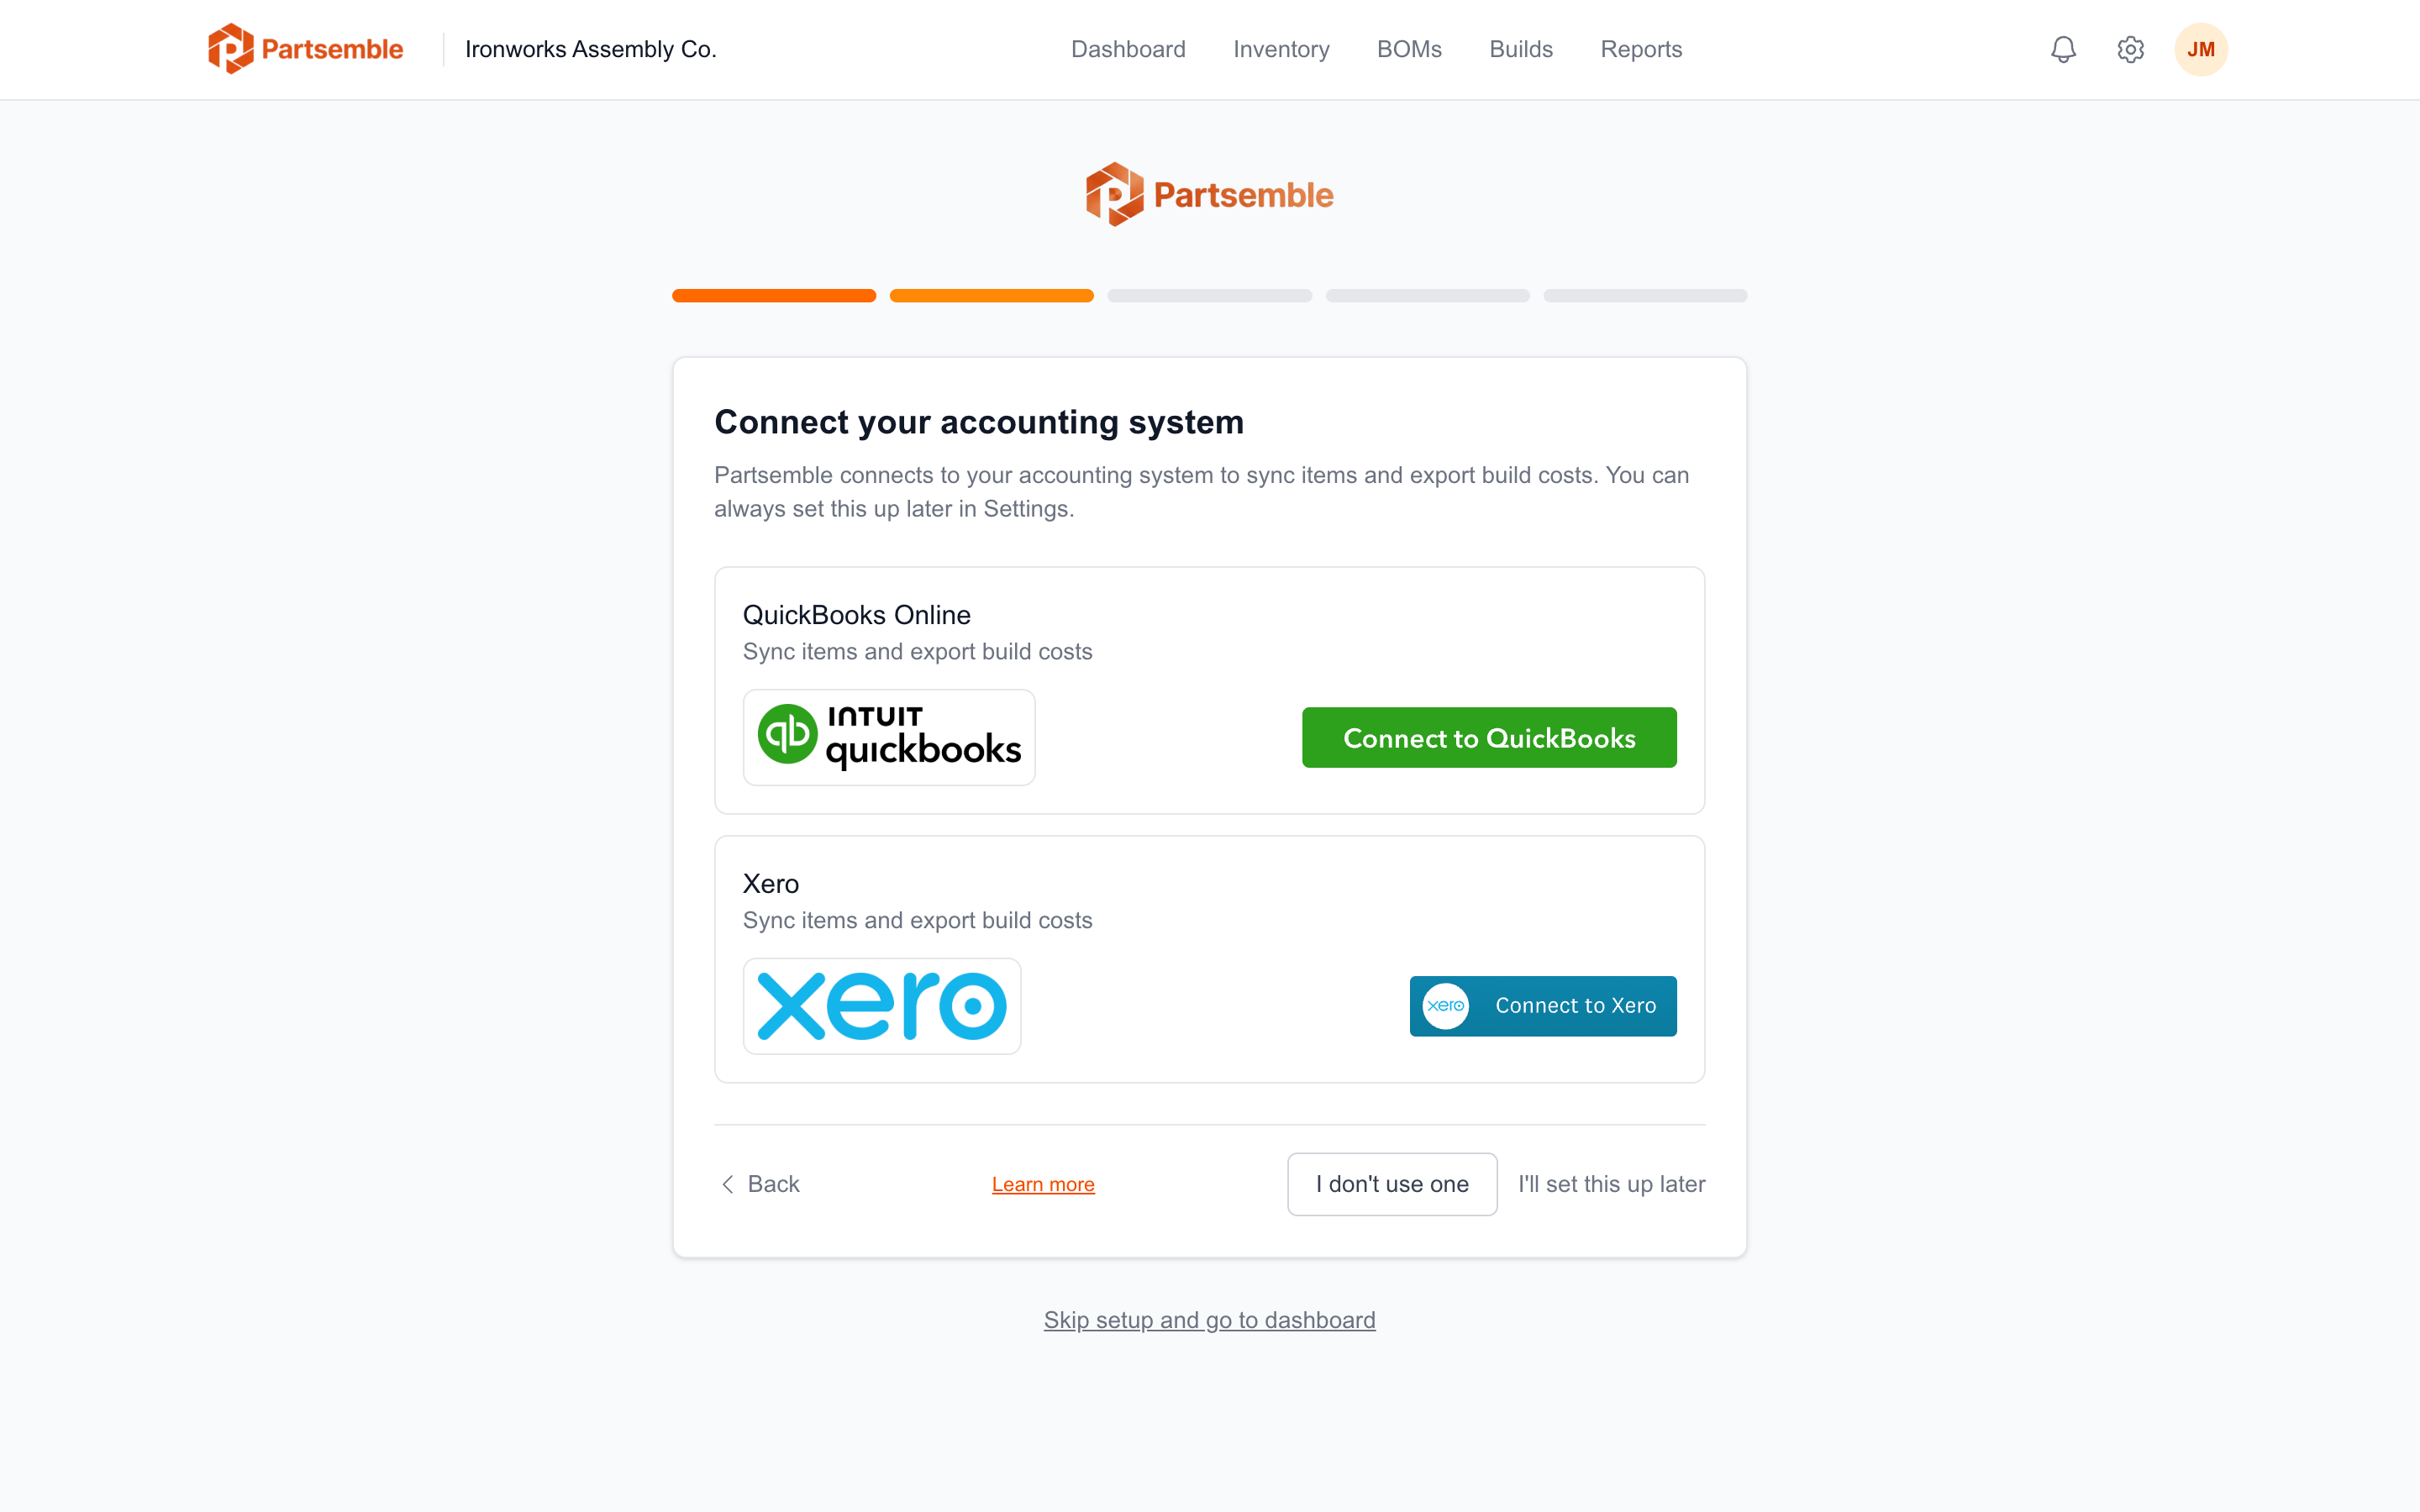
Navigate to Settings → Integrations. You'll see the Accounting section at the top of the page.
2. Click "Connect QuickBooks"
Click the Connect QuickBooks button. A popup window opens with the Intuit sign-in page.
Make sure your browser allows popups from Partsemble. If the window doesn't appear, check your browser's popup blocker settings.
3. Sign in and authorize
Sign in to your Intuit account (or confirm your identity if already signed in). QuickBooks asks you to authorize Partsemble to access your company data. Review the permissions and click Connect.
4. Confirm the connection
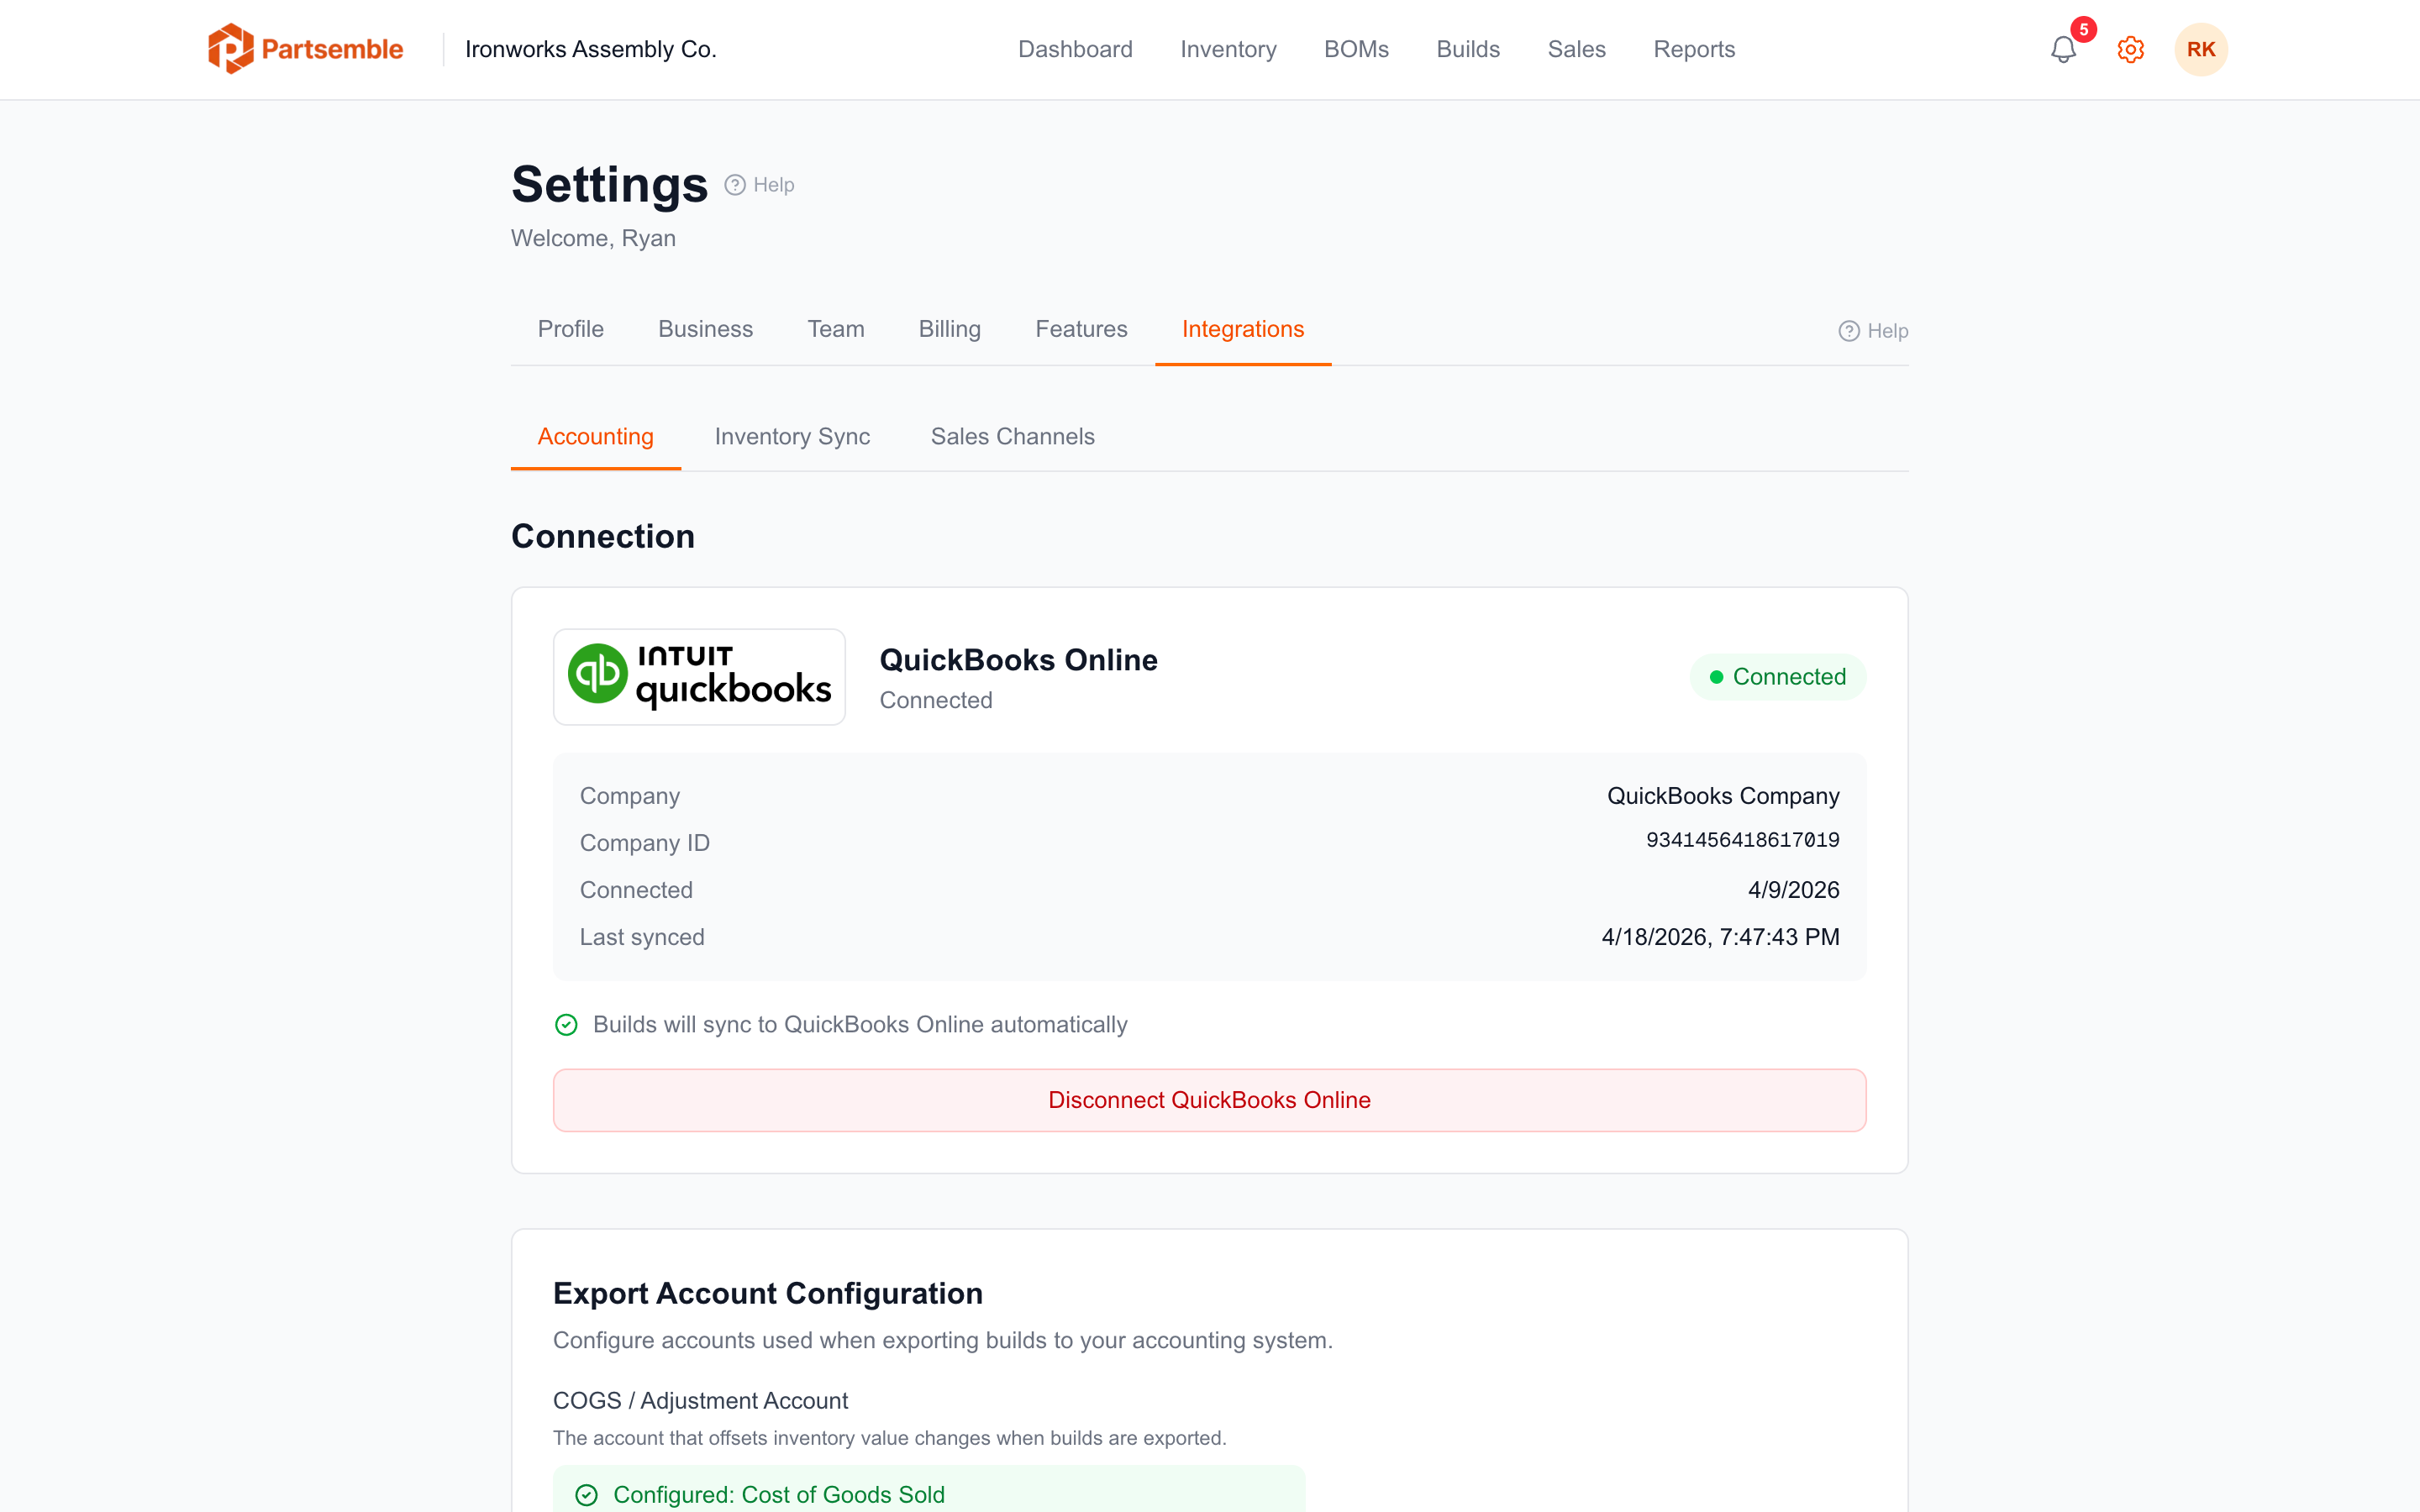
The popup closes automatically and the integrations page refreshes. You should see your QuickBooks company name and a green "Connected" status.
What Happens Next
After connecting, Partsemble has access to your QuickBooks data. Here's what you can do:
Choose your inventory mode. Partsemble asks whether you want to sync inventory items from QuickBooks or manage inventory in Partsemble only. This is an important decision — see Choosing Your Inventory Source for a detailed explanation of both options.
Sync items. If you choose to sync, Partsemble pulls your inventory items from QuickBooks. You can then select which items to import as Partsemble products. Navigate to Settings → Integrations → Sync Items to start a sync.
Configure export accounts. Before you can export builds, you need to select a COGS (Cost of Goods Sold) account. Go to Settings → Integrations and choose the account from the dropdown in the Export Configuration section. If you use QA review, you can also set a waste/scrap account for rejected builds.
You don't have to configure everything immediately. The dashboard checklist guides you through each step after you connect.
Disconnecting
If you need to disconnect QuickBooks (for example, to switch to a different company), go to Settings → Integrations and click Disconnect. Your existing Partsemble data (products, BOMs, build history) is preserved. Any pending exports will remain in their current state.
You can reconnect at any time. If you reconnect to the same QuickBooks company, Partsemble re-links your previously synced items automatically.
Troubleshooting
The popup doesn't appear. Check that your browser allows popups from app.partsemble.com. Most browsers show a blocked-popup icon in the address bar.
The connection fails after authorizing. This usually means the browser took too long between signing in and returning to Partsemble. Try again — the process typically takes under 30 seconds.
"Token expired" error. QuickBooks access tokens refresh automatically. If you see this error, try the action again. If it persists, disconnect and reconnect your QuickBooks account.
For more troubleshooting guidance, see Troubleshooting Sync Issues.
Using Xero Instead?
If you use Xero rather than QuickBooks, see Xero for connection setup. The process is similar — OAuth authorization in a popup — but inventory management works differently with Xero.