Exporting Builds
After a build is executed (and approved, if QA review is enabled), it can be exported to your accounting system. The export creates the appropriate transactions so your books reflect the production activity without any manual journal entries.
Prerequisites
Before you can export builds, you need:
- An active accounting connection (see Connecting QuickBooks)
- A COGS account selected in Settings → Integrations → Export Configuration
- Products linked to accounting items (either through sync or import)
If any prerequisite is missing, Partsemble shows a message explaining what's needed when you try to export.
All component products consumed in the build must be linked to accounting items with valid external IDs. If a component was created manually in Partsemble without being linked to an accounting item, the export will fail for that build. Check the build detail page for specifics on which items need linking.
What Gets Exported
Standard build (synced inventory mode)
When your inventory is synced with your accounting system, the export creates an inventory adjustment with:
- Negative lines for each consumed component (stock decreases)
- Positive line for the produced finished good (stock increases)
- Account offset to your configured COGS account
This keeps your accounting system's inventory quantities in sync with what Partsemble recorded during the build.
Standard build (Partsemble-only inventory mode)
When you manage inventory in Partsemble only, the export creates a journal entry:
- Debit to your configured build debit account (typically COGS or a production expense account)
- Credit to your configured build credit account (typically an inventory or production clearing account)
No inventory adjustments are sent since your accounting system doesn't track inventory quantities.
Waste export (rejected builds)
If a build was rejected during QA with total loss or partial loss, a separate waste export is created. This records the lost component value against your configured waste/scrap account. See Recovery Modes for details on how rejected builds are handled.
Auto vs. Manual Export
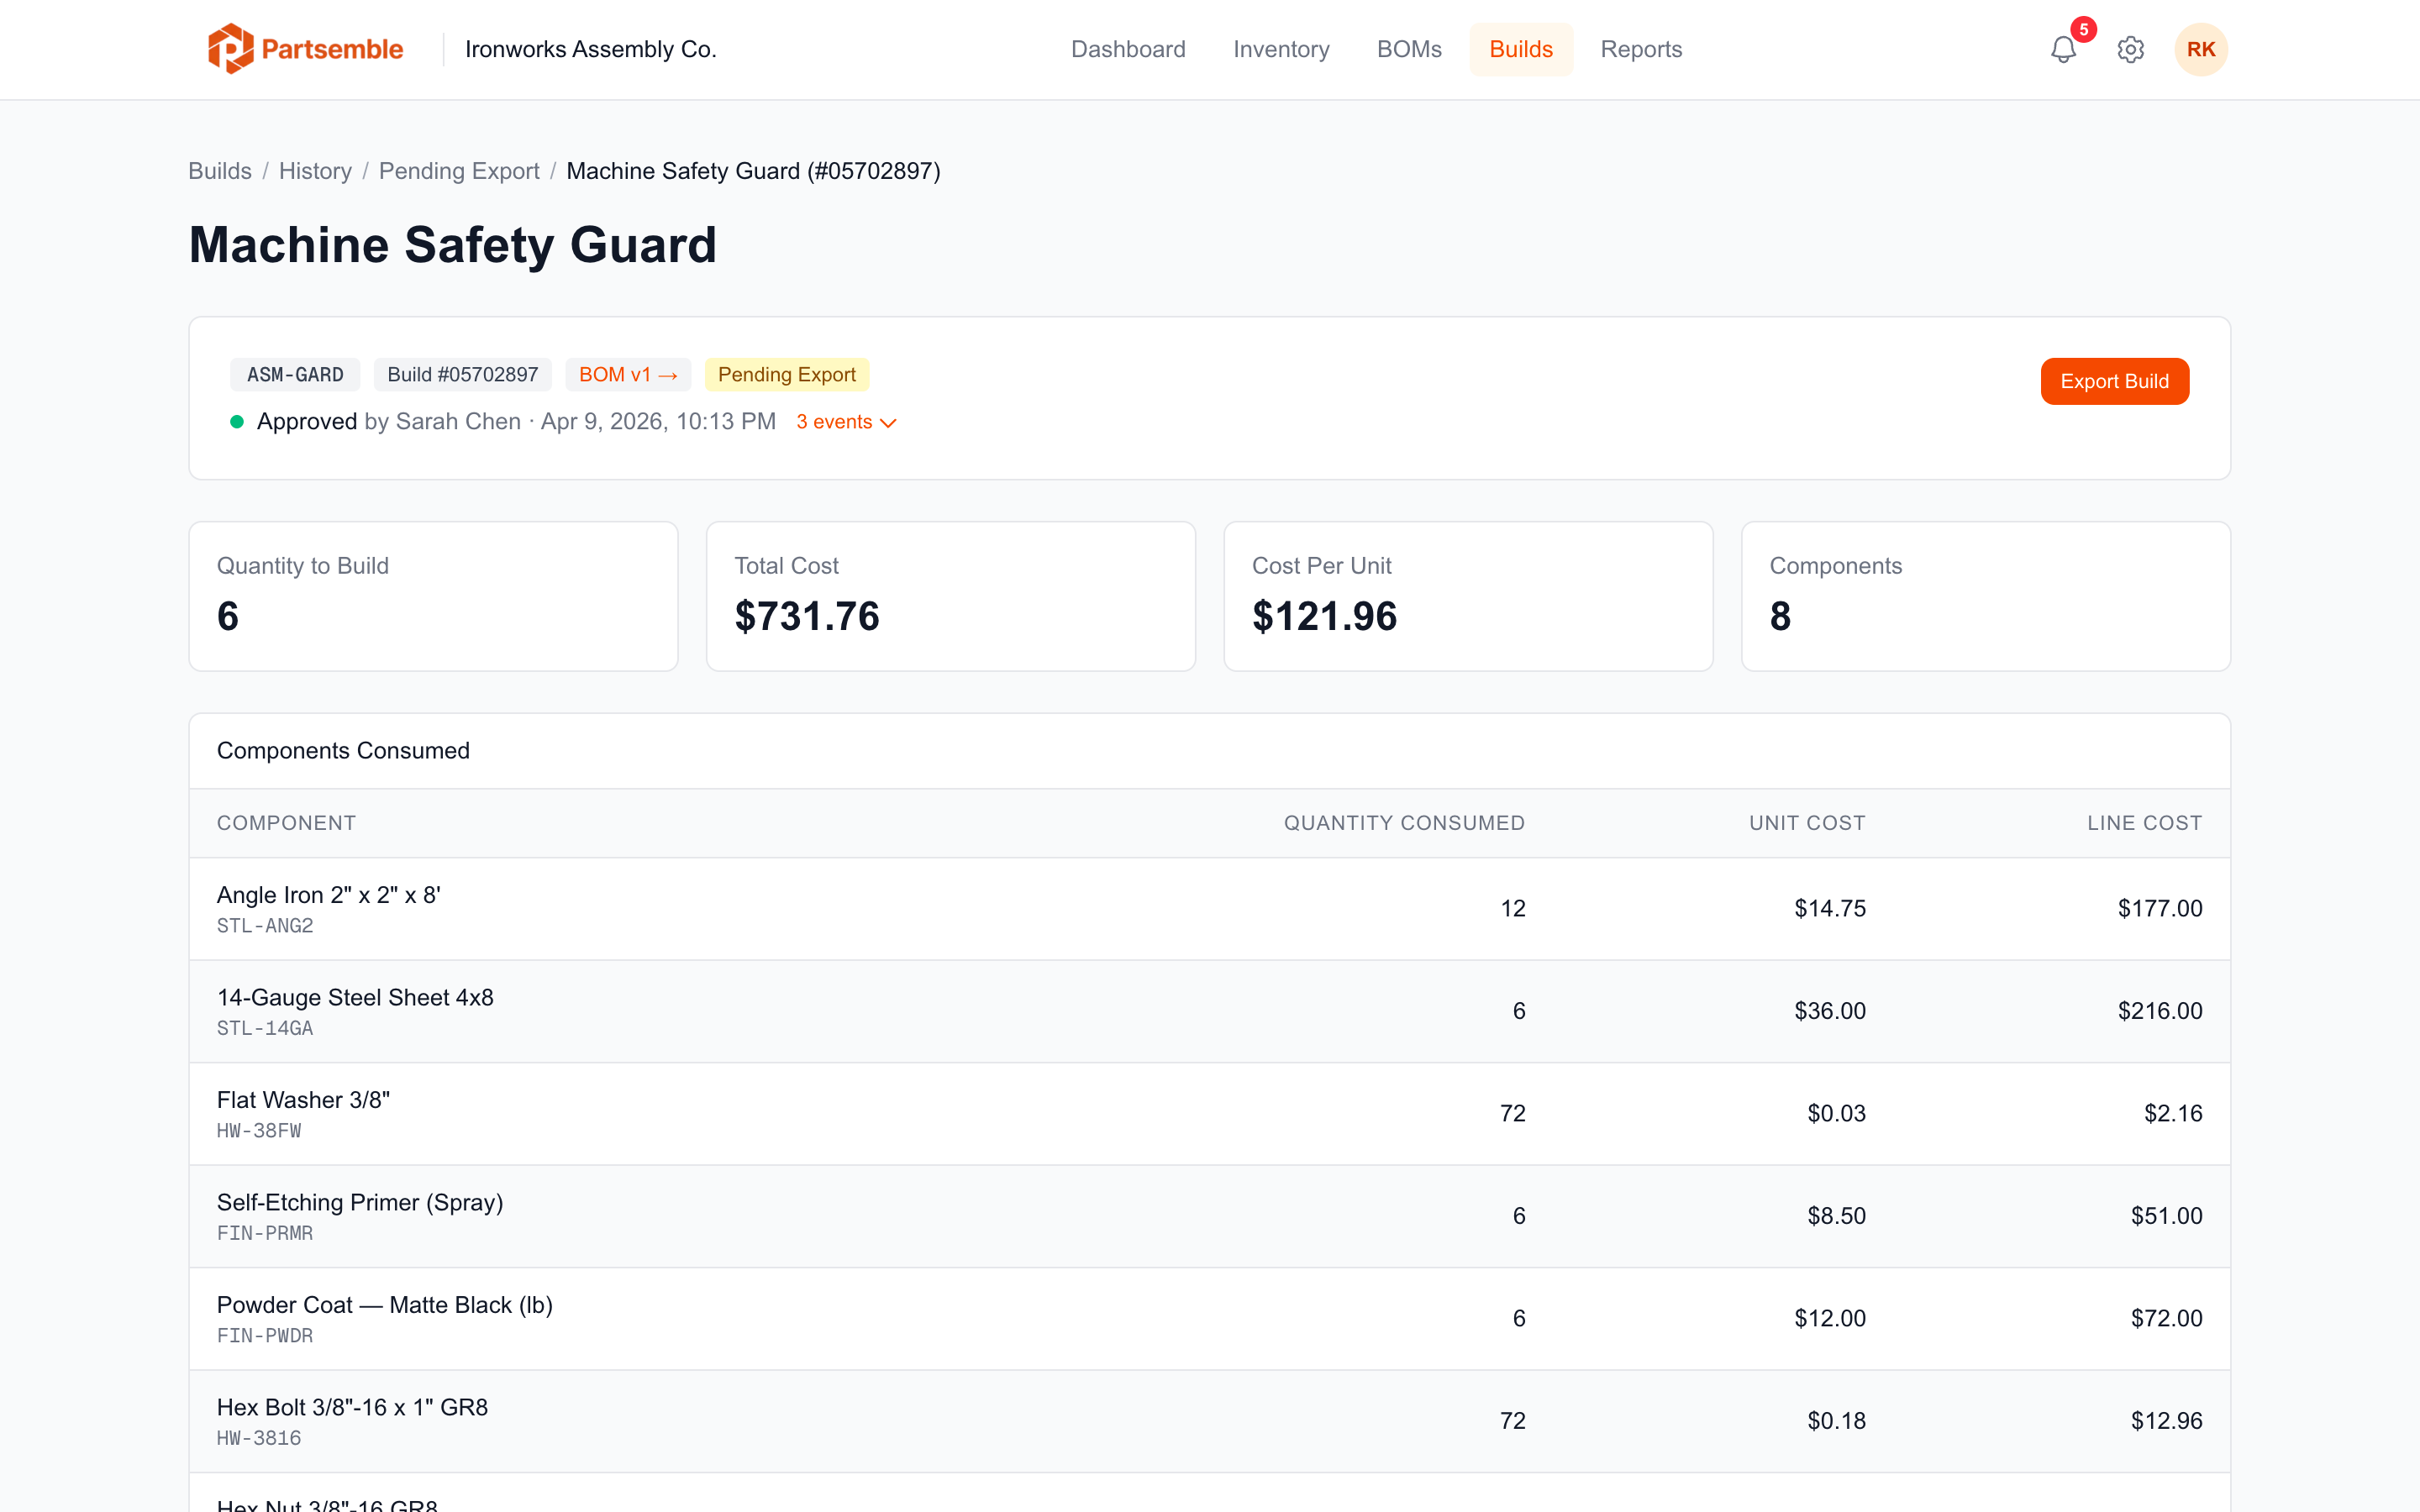
In Settings → Integrations → Export Configuration, you can choose your export mode:
Auto export — builds are exported to accounting automatically as soon as they reach Pending Export status. This is the hands-off option — you don't need to do anything after executing a build.
Manual export — builds wait in Pending Export status until you explicitly export them. You can export individual builds from the build detail page or export multiple builds at once from the build history.
Export Reference Numbers
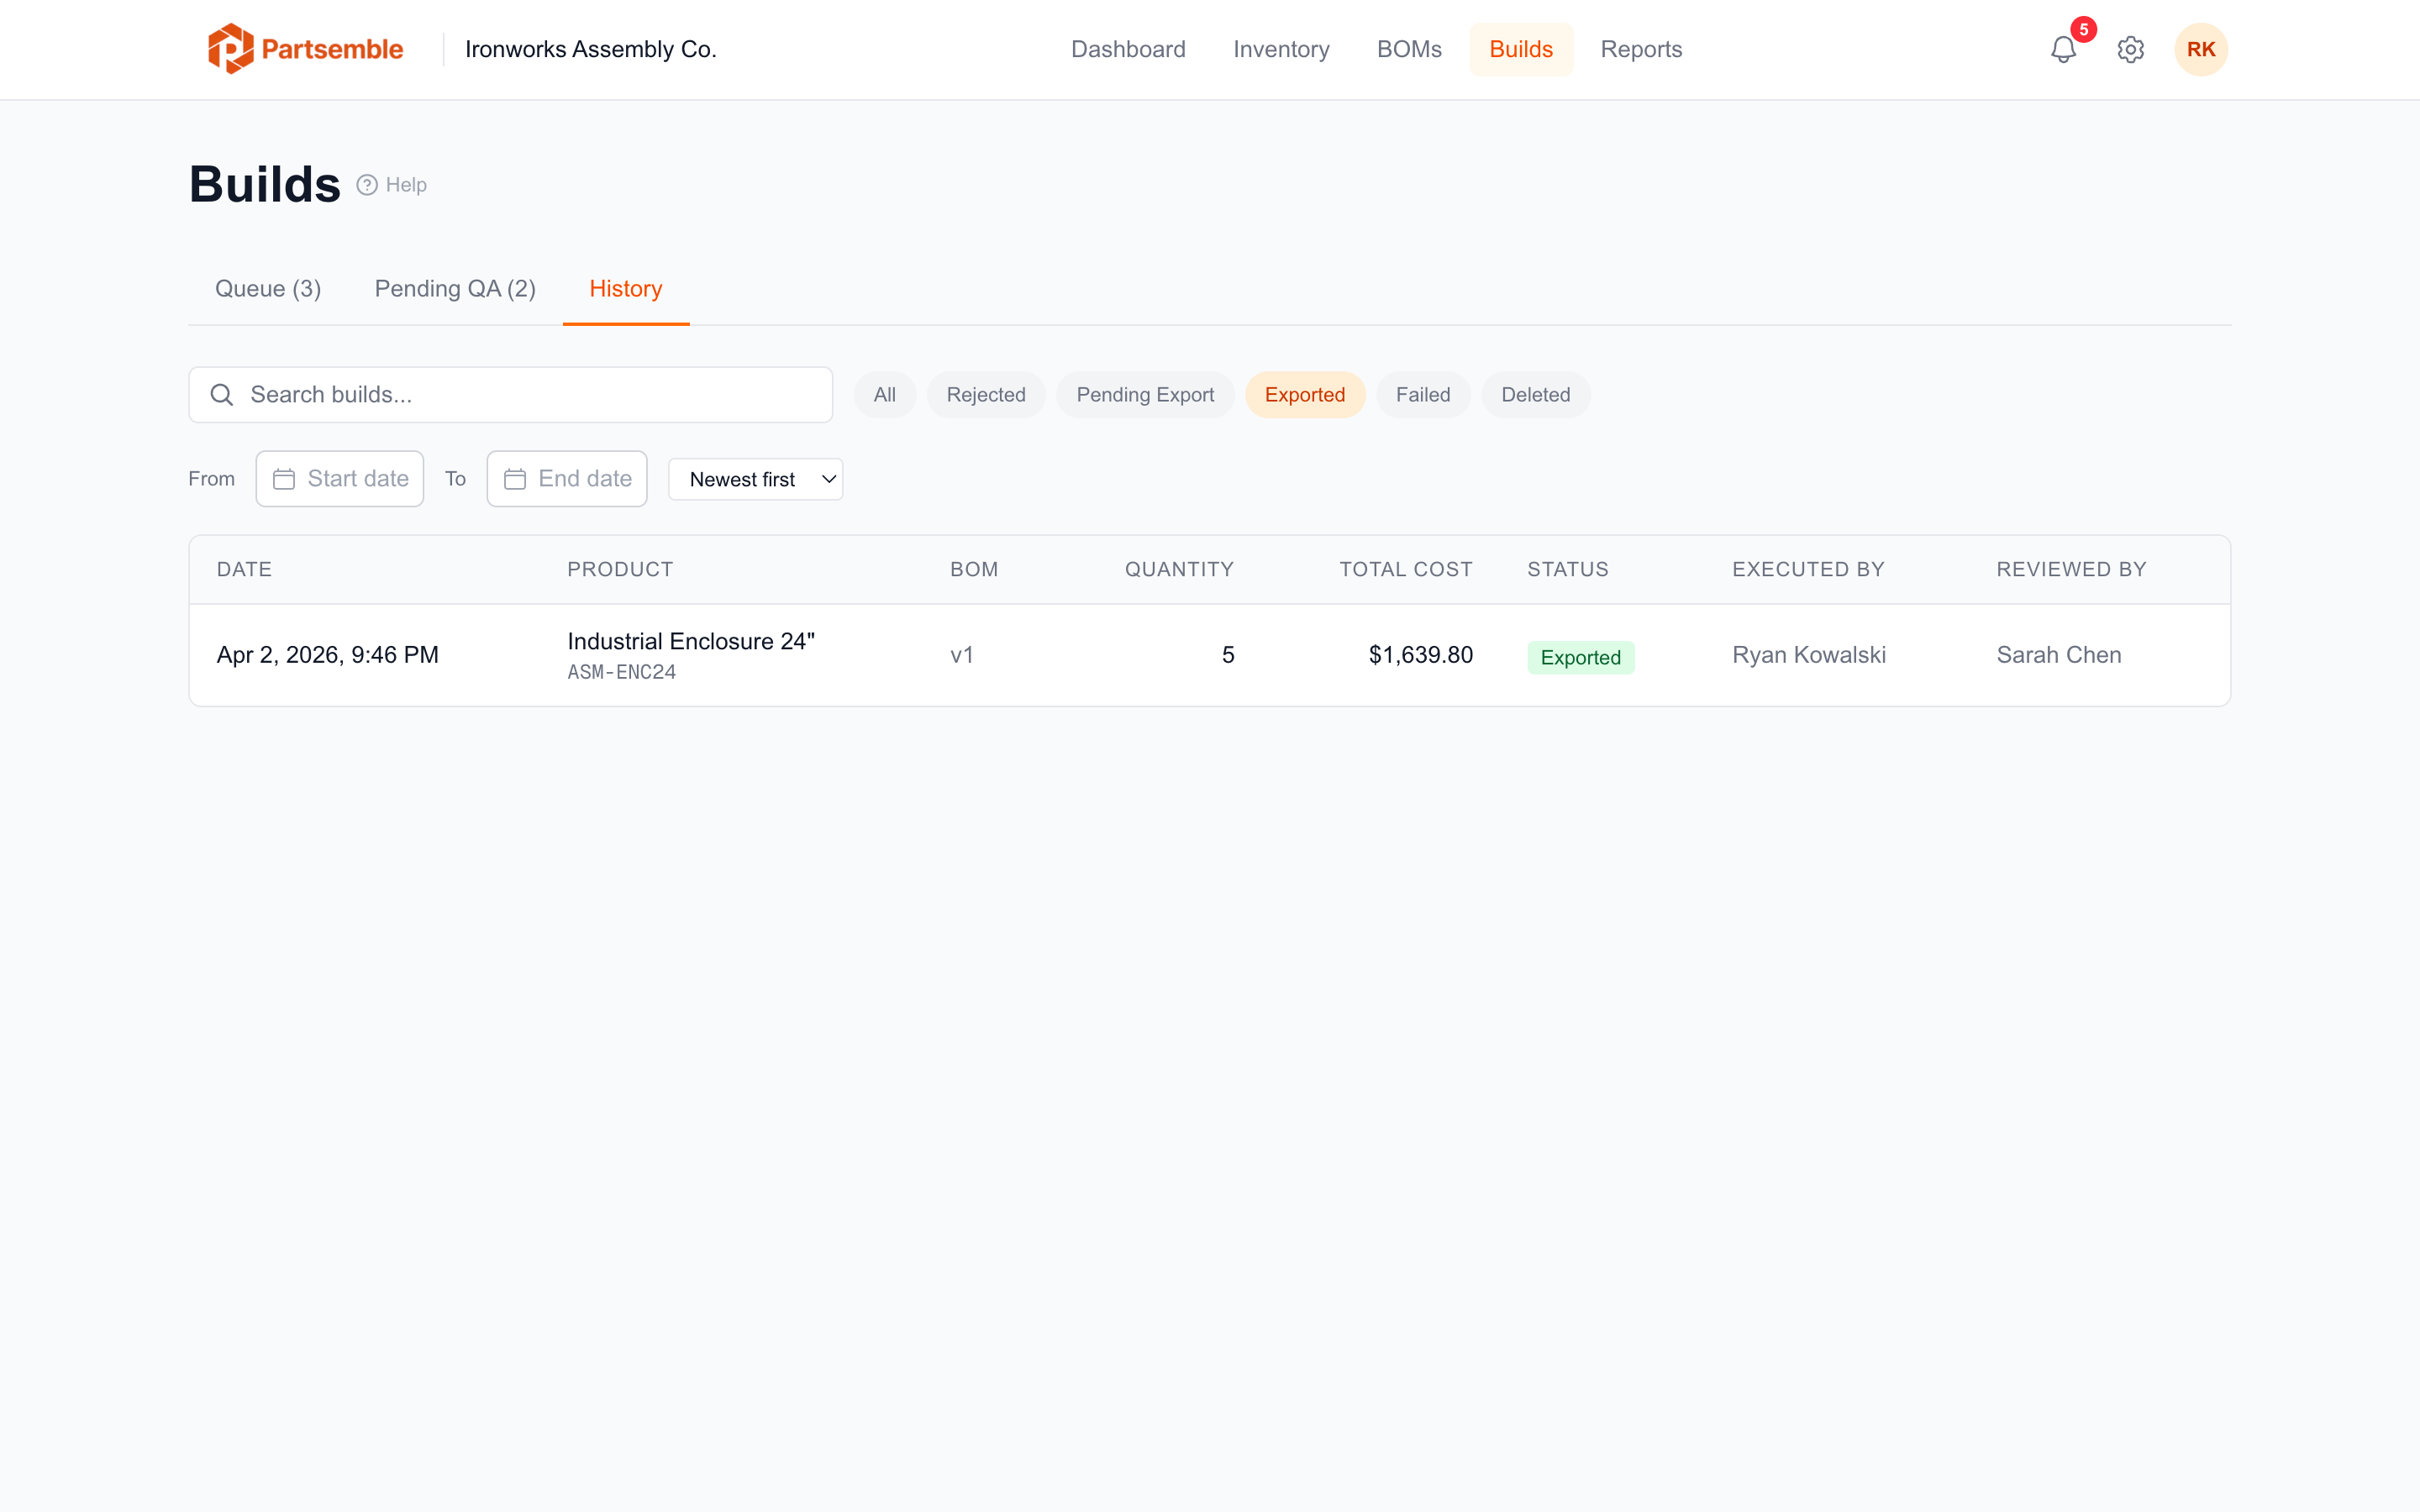
Each exported build gets a reference number in your accounting system in the format PSB-XXXXXXXX (where XXXXXXXX is derived from the build ID). Waste exports for rejected builds use the format PSB-XXXXXXXX-W. These references make it easy to trace accounting transactions back to specific Partsemble builds.
Handling Export Failures
If an export fails (network issue, accounting system error, invalid account, etc.), the build moves to Failed status with an error message explaining what went wrong.
You can retry a failed export from the build detail page. Fix the underlying issue first (check your accounting connection, verify the accounts exist, ensure products are linked), then click Retry Export.
Failed exports don't affect your Partsemble inventory — the build was already executed successfully. Only the accounting sync is pending.
Export Status Reference
| Status | Meaning | Action |
|---|---|---|
| Pending Export | Ready to export | Exported automatically (auto mode) or waiting for manual export |
| Synced | Successfully exported | No action needed |
| Failed | Export failed | Fix the issue and retry |