Importing Products
You can add products to Partsemble one at a time or by importing them from your connected accounting system. This article covers both approaches.
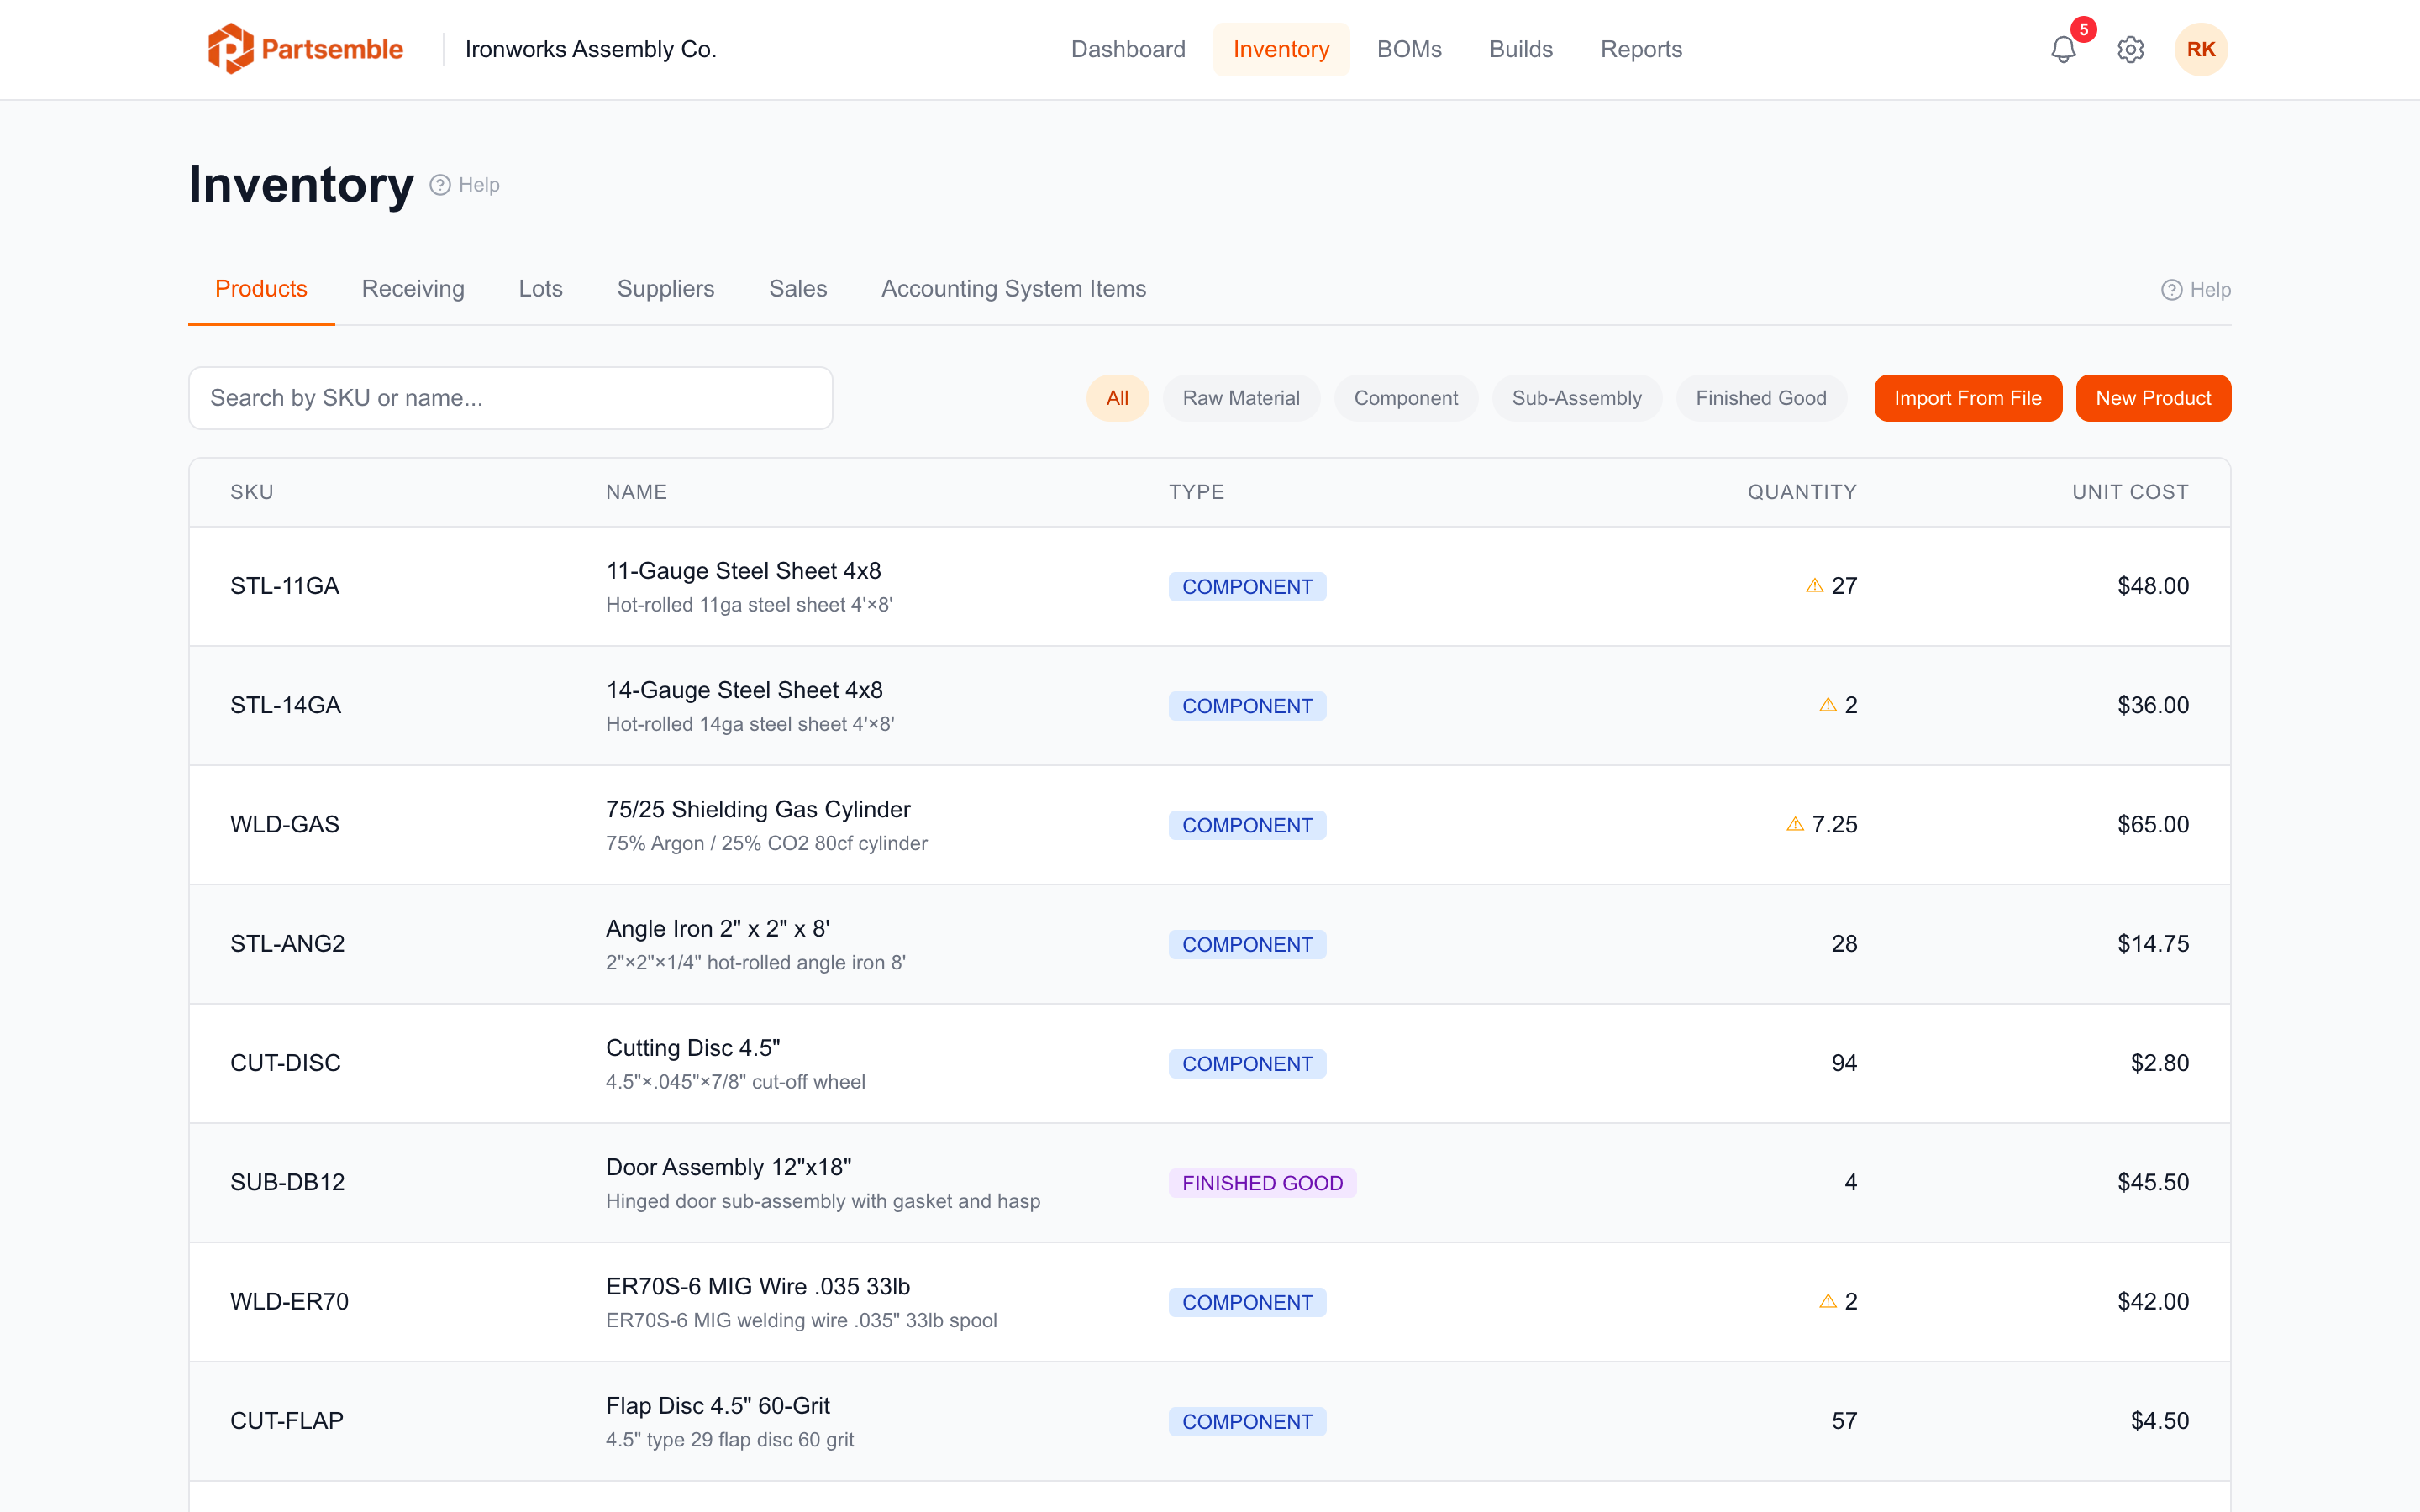
Creating Products Manually
Navigate to Products in the left sidebar and click New Product. Fill in the required fields:
Name — the display name for the product (e.g., "14-Gauge Steel Sheet (4×8 ft)").
SKU — a unique identifier for this product within your business (e.g., "STL-14GA-4X8"). SKUs must be unique — Partsemble won't let you create two products with the same SKU.
Type — the product type: Raw Material, Component, Sub-Assembly, or Finished Good. See Product Types for guidance on choosing the right type.
Optional fields:
Unit Cost — the current cost per unit. For raw materials, this is typically your purchase price. For finished goods, this is calculated automatically when you execute builds. You can enter an initial estimate or leave it at zero.
Description — a text description for your reference. Not used in any calculations.
Reorder Point — the stock level at which Partsemble shows a low-stock alert on your dashboard. Set this if you want to be notified before you run out. See Reorder and Build Points for more details.
Click Save to create the product. It starts with zero stock on hand unless you set initial quantities.
Importing From Your Accounting System
If you've connected an accounting system (like QuickBooks Online) and chosen to sync inventory, you can import existing items as Partsemble products.
1. Sync items from your accounting system
Navigate to Settings → Integrations and click Sync Items. Partsemble fetches the current list of items from your accounting system. This may take a moment depending on how many items you have.
2. Select items to import
After the sync completes, you'll see a list of your accounting system's items. Each row shows the item name, SKU, and current quantity. Select the items you want to bring into Partsemble.
3. Choose product types
For each selected item, specify whether it should be imported as a Raw Material, Component, or Finished Good. Partsemble defaults to a reasonable type based on the item's properties, but you can override this.
4. Confirm the import
Click Import Selected. Partsemble creates a product for each item, carrying over the name, SKU, description, and unit cost. If the accounting item has a quantity on hand, Partsemble records an initial stock transaction to set the starting inventory.
If an imported item's SKU matches an existing product in Partsemble, the system appends a numeric suffix (e.g., "SKU-1") to keep SKUs unique. You can edit the SKU afterward if needed.
SKU Limits
Your plan determines how many product SKUs you can have. Maker allows up to 500, Pro up to 2,000, and Advanced is unlimited (custom pricing above 10,000 SKUs). If an import would exceed your limit, Partsemble imports as many as possible and notifies you of the remainder.
See Choosing a Plan for full details on plan limits.
Importing From a CSV or XLSX File
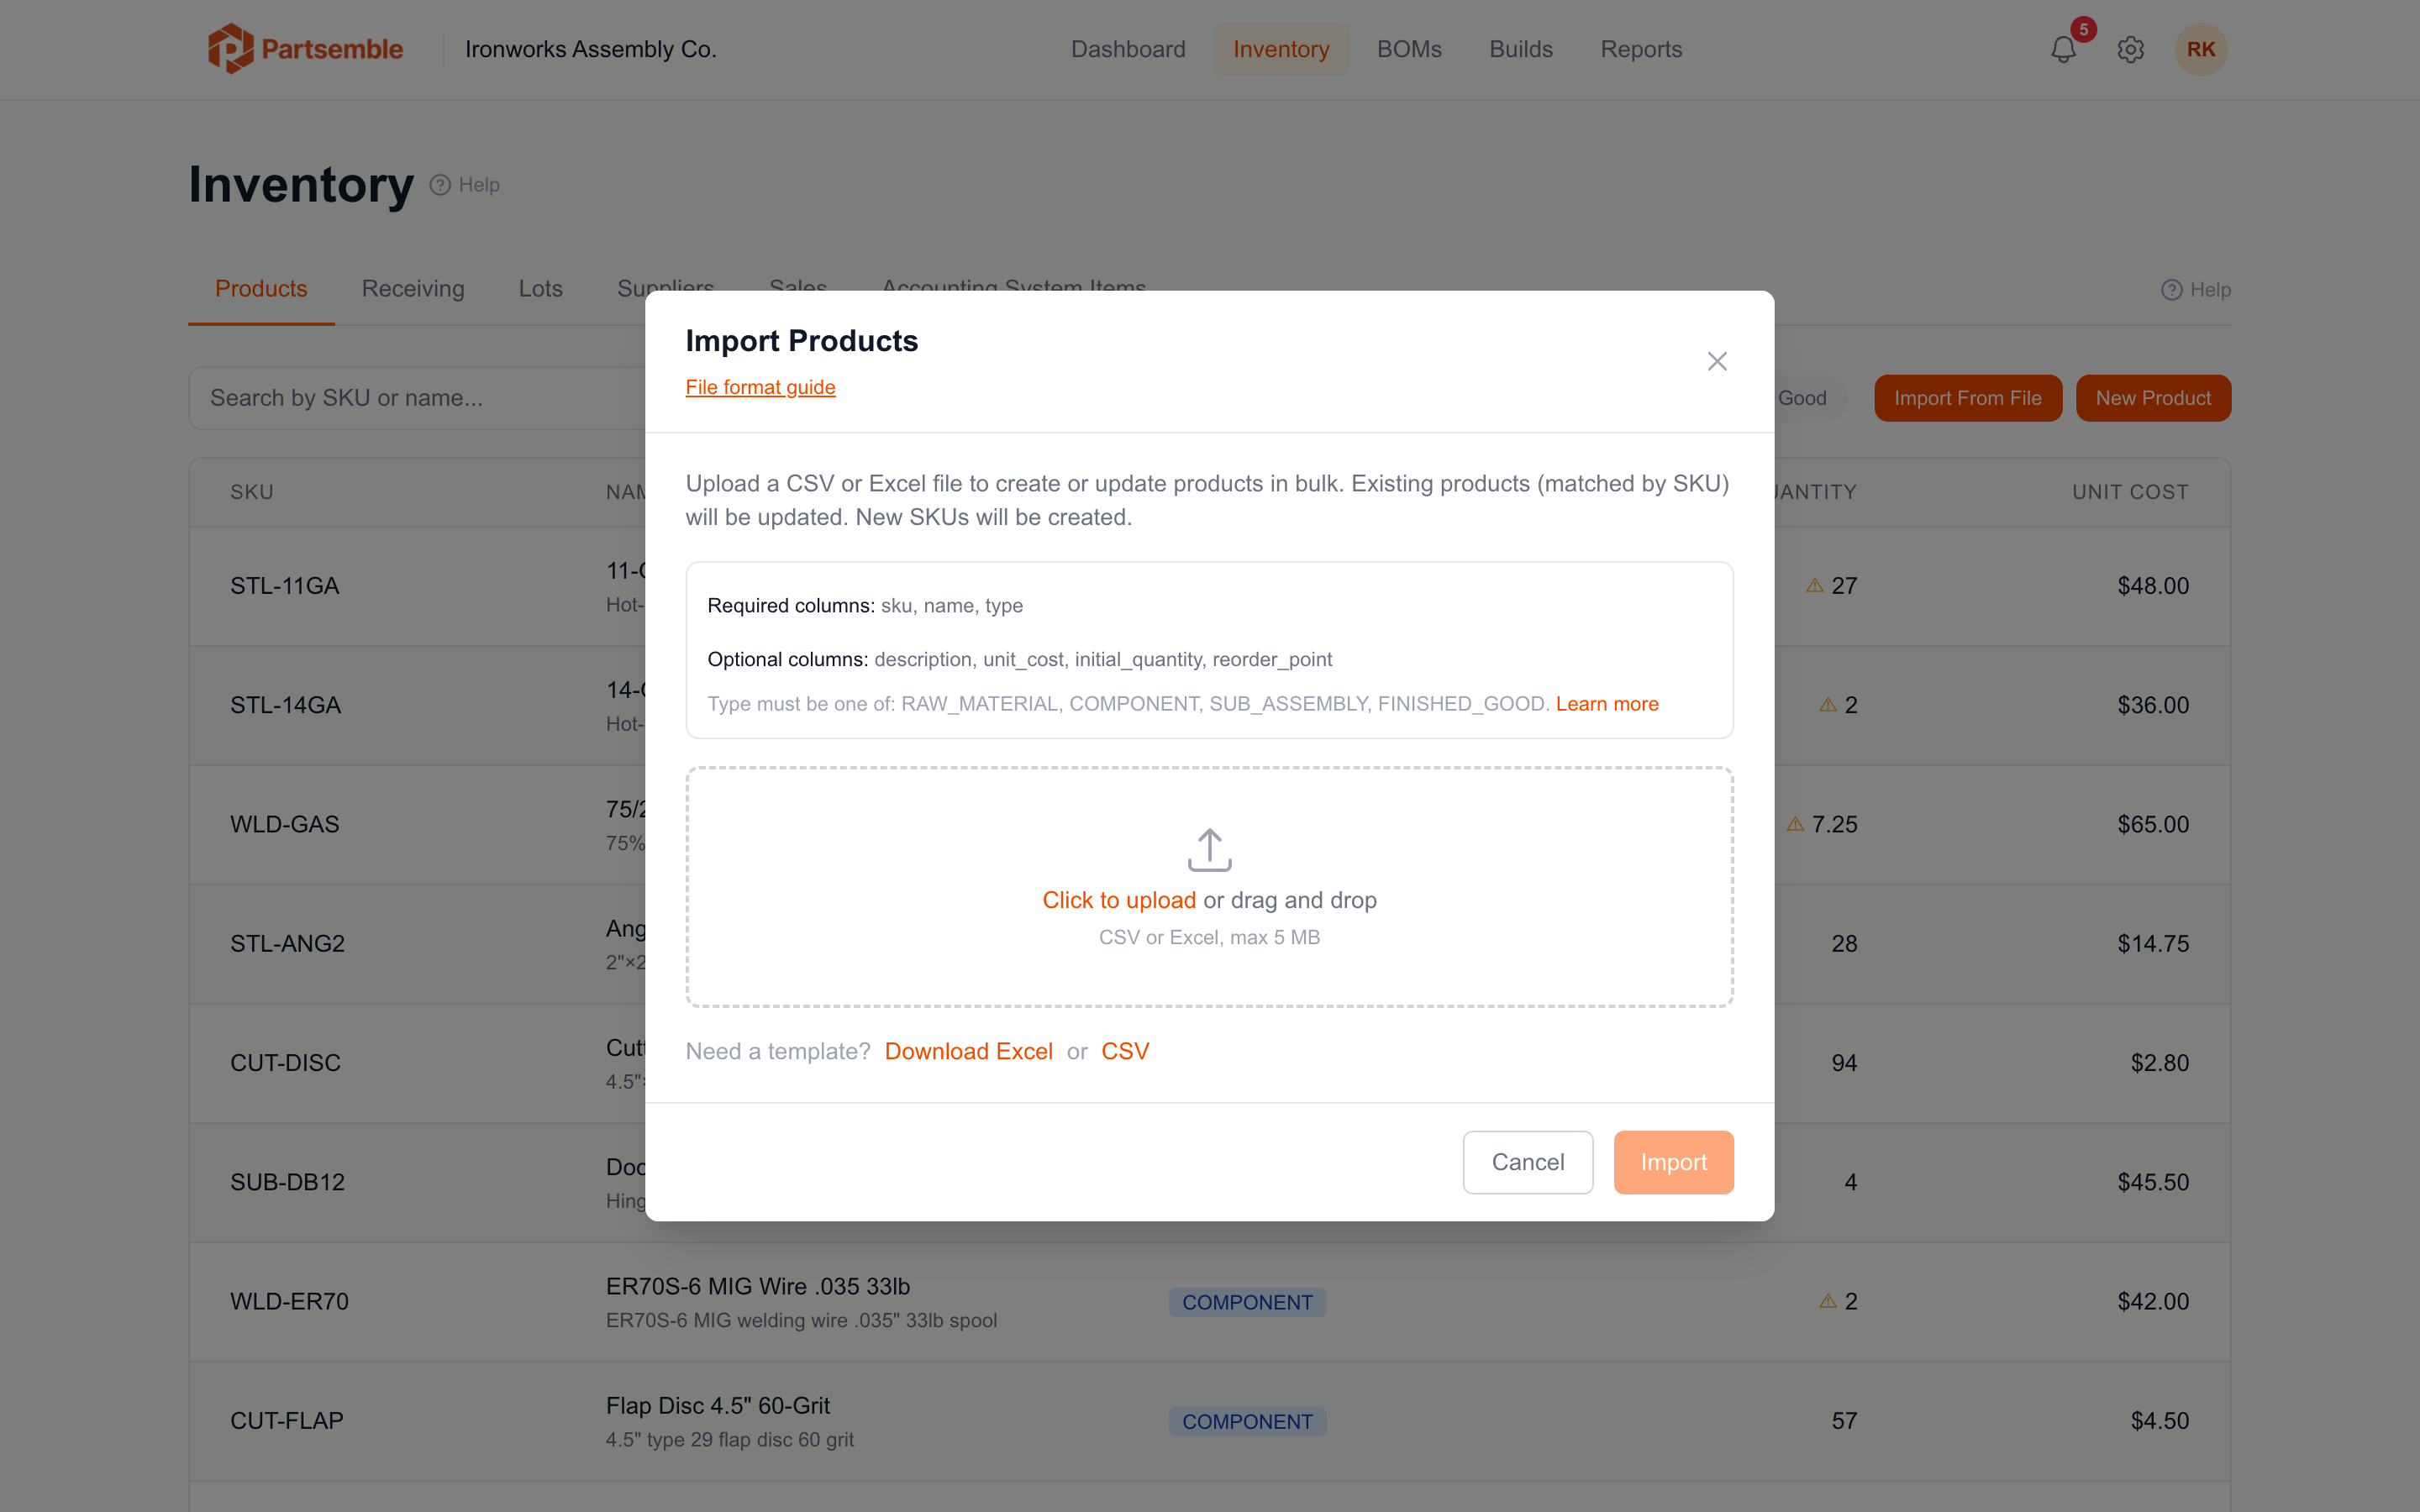
If you have a product catalog in a spreadsheet — from a previous system, an ERP export, or assembled manually — you can upload it directly. This works regardless of whether you have an accounting system connected.
Download the template
Navigate to Products and click Import CSV/XLSX. In the import modal, click Download Template to get a pre-filled XLSX file with sample data from a metal fabrication shop. The template shows the expected columns and format. A CSV version is also available.
Prepare your file
The file needs these columns:
| Column | Required | Description |
|---|---|---|
| sku | Yes | Unique identifier for the product (max 255 characters) |
| name | Yes | Product display name (max 255 characters) |
| type | Yes | One of: RAW_MATERIAL, COMPONENT, SUB_ASSEMBLY, FINISHED_GOOD |
| description | No | Text description |
| unit_cost | No | Cost per unit (e.g., 2.50) |
| initial_quantity | No | Starting stock for new products (ignored for existing SKUs) |
| reorder_point | No | Low-stock alert threshold |
The type column is flexible — "raw material", "Raw Material", and "RAW_MATERIAL" are all accepted.
Upload and validate
Click Import and select your file (.csv or .xlsx, max 5MB, up to 5,000 rows). Partsemble validates the entire file before importing anything. If any row has an issue — missing required field, invalid product type, duplicate SKU within the file, or the import would exceed your plan's SKU limit — you'll see an error list with row numbers and specific messages. Nothing is imported until every row passes.
What happens on import
New SKUs — a product is created with the values from the file. If you provided an initial_quantity, a stock transaction is recorded and the product's stock on hand is set accordingly.
Existing SKUs — the product is updated. Name, type, description, unit cost, and reorder point are overwritten with the file values. The initial_quantity column is ignored for existing products — stock changes should go through builds, receipts, or adjustments, not file reimport.
The CSV/XLSX import does not modify accounting item links, external IDs, or tracked status on existing products. These fields are managed by the accounting system integration and are preserved during file imports.
Tips for Setting Up Your Catalog
Start with what you build most. You don't need to import your entire catalog on day one. Start with the products and components involved in your most common builds, then expand from there.
Be consistent with SKUs. Establish a naming convention early. Common patterns include category prefix + identifier (e.g., "STL-14GA-4X8", "ASM-ENC24") or your existing part numbers.
Set reorder points for critical materials. After importing, go through your key raw materials and set reorder points so the dashboard warns you before you run out of something important.
If you manage inventory in Partsemble only (not synced with your accounting system), you can adjust stock quantities at any time using the Adjust Stock action on the product detail page. See Stock Adjustments for details.
When receiving is enabled, initial quantities on imported products automatically create migration lots for lot tracking. Migration lots use the format IMPORT-YYYYMMDD-001 and participate in FIFO consumption like any other lot. Use the initial_quantity column only for setting starting stock on new products — ongoing inventory should be received through receipts. See Stock Adjustments for more on how this works.