Exporting Receipts
After a receipt is confirmed, it can be exported to your accounting system. The export creates an inventory adjustment (or journal entry) that reflects the incoming inventory in your books.
Prerequisites
Before exporting receipts, you need:
- An active accounting connection
- A receiving account configured in Settings → Integrations. See Receiving Account.
- Products on the receipt linked to accounting items with valid external IDs
What Gets Exported
Synced inventory mode
The export creates an inventory adjustment in your accounting system with a positive line for each receipt line. Each line includes the product, quantity received, and unit cost. The offset account is your configured receiving account.
Partsemble-only mode
The export creates a journal entry: debit to your configured receiving debit account, credit to your receiving credit account. The amount is the total cost of the receipt.
Auto vs. Manual Export
Like build exports, receipt exports can be automatic or manual:
Auto export — receipts are exported as soon as they're confirmed, if the receiving account is configured and all products are linked. Set export mode in Settings → Integrations.
Manual export — receipts wait in Confirmed or Pending Export status until you explicitly export them from the receipt detail page.
Export Reference Numbers
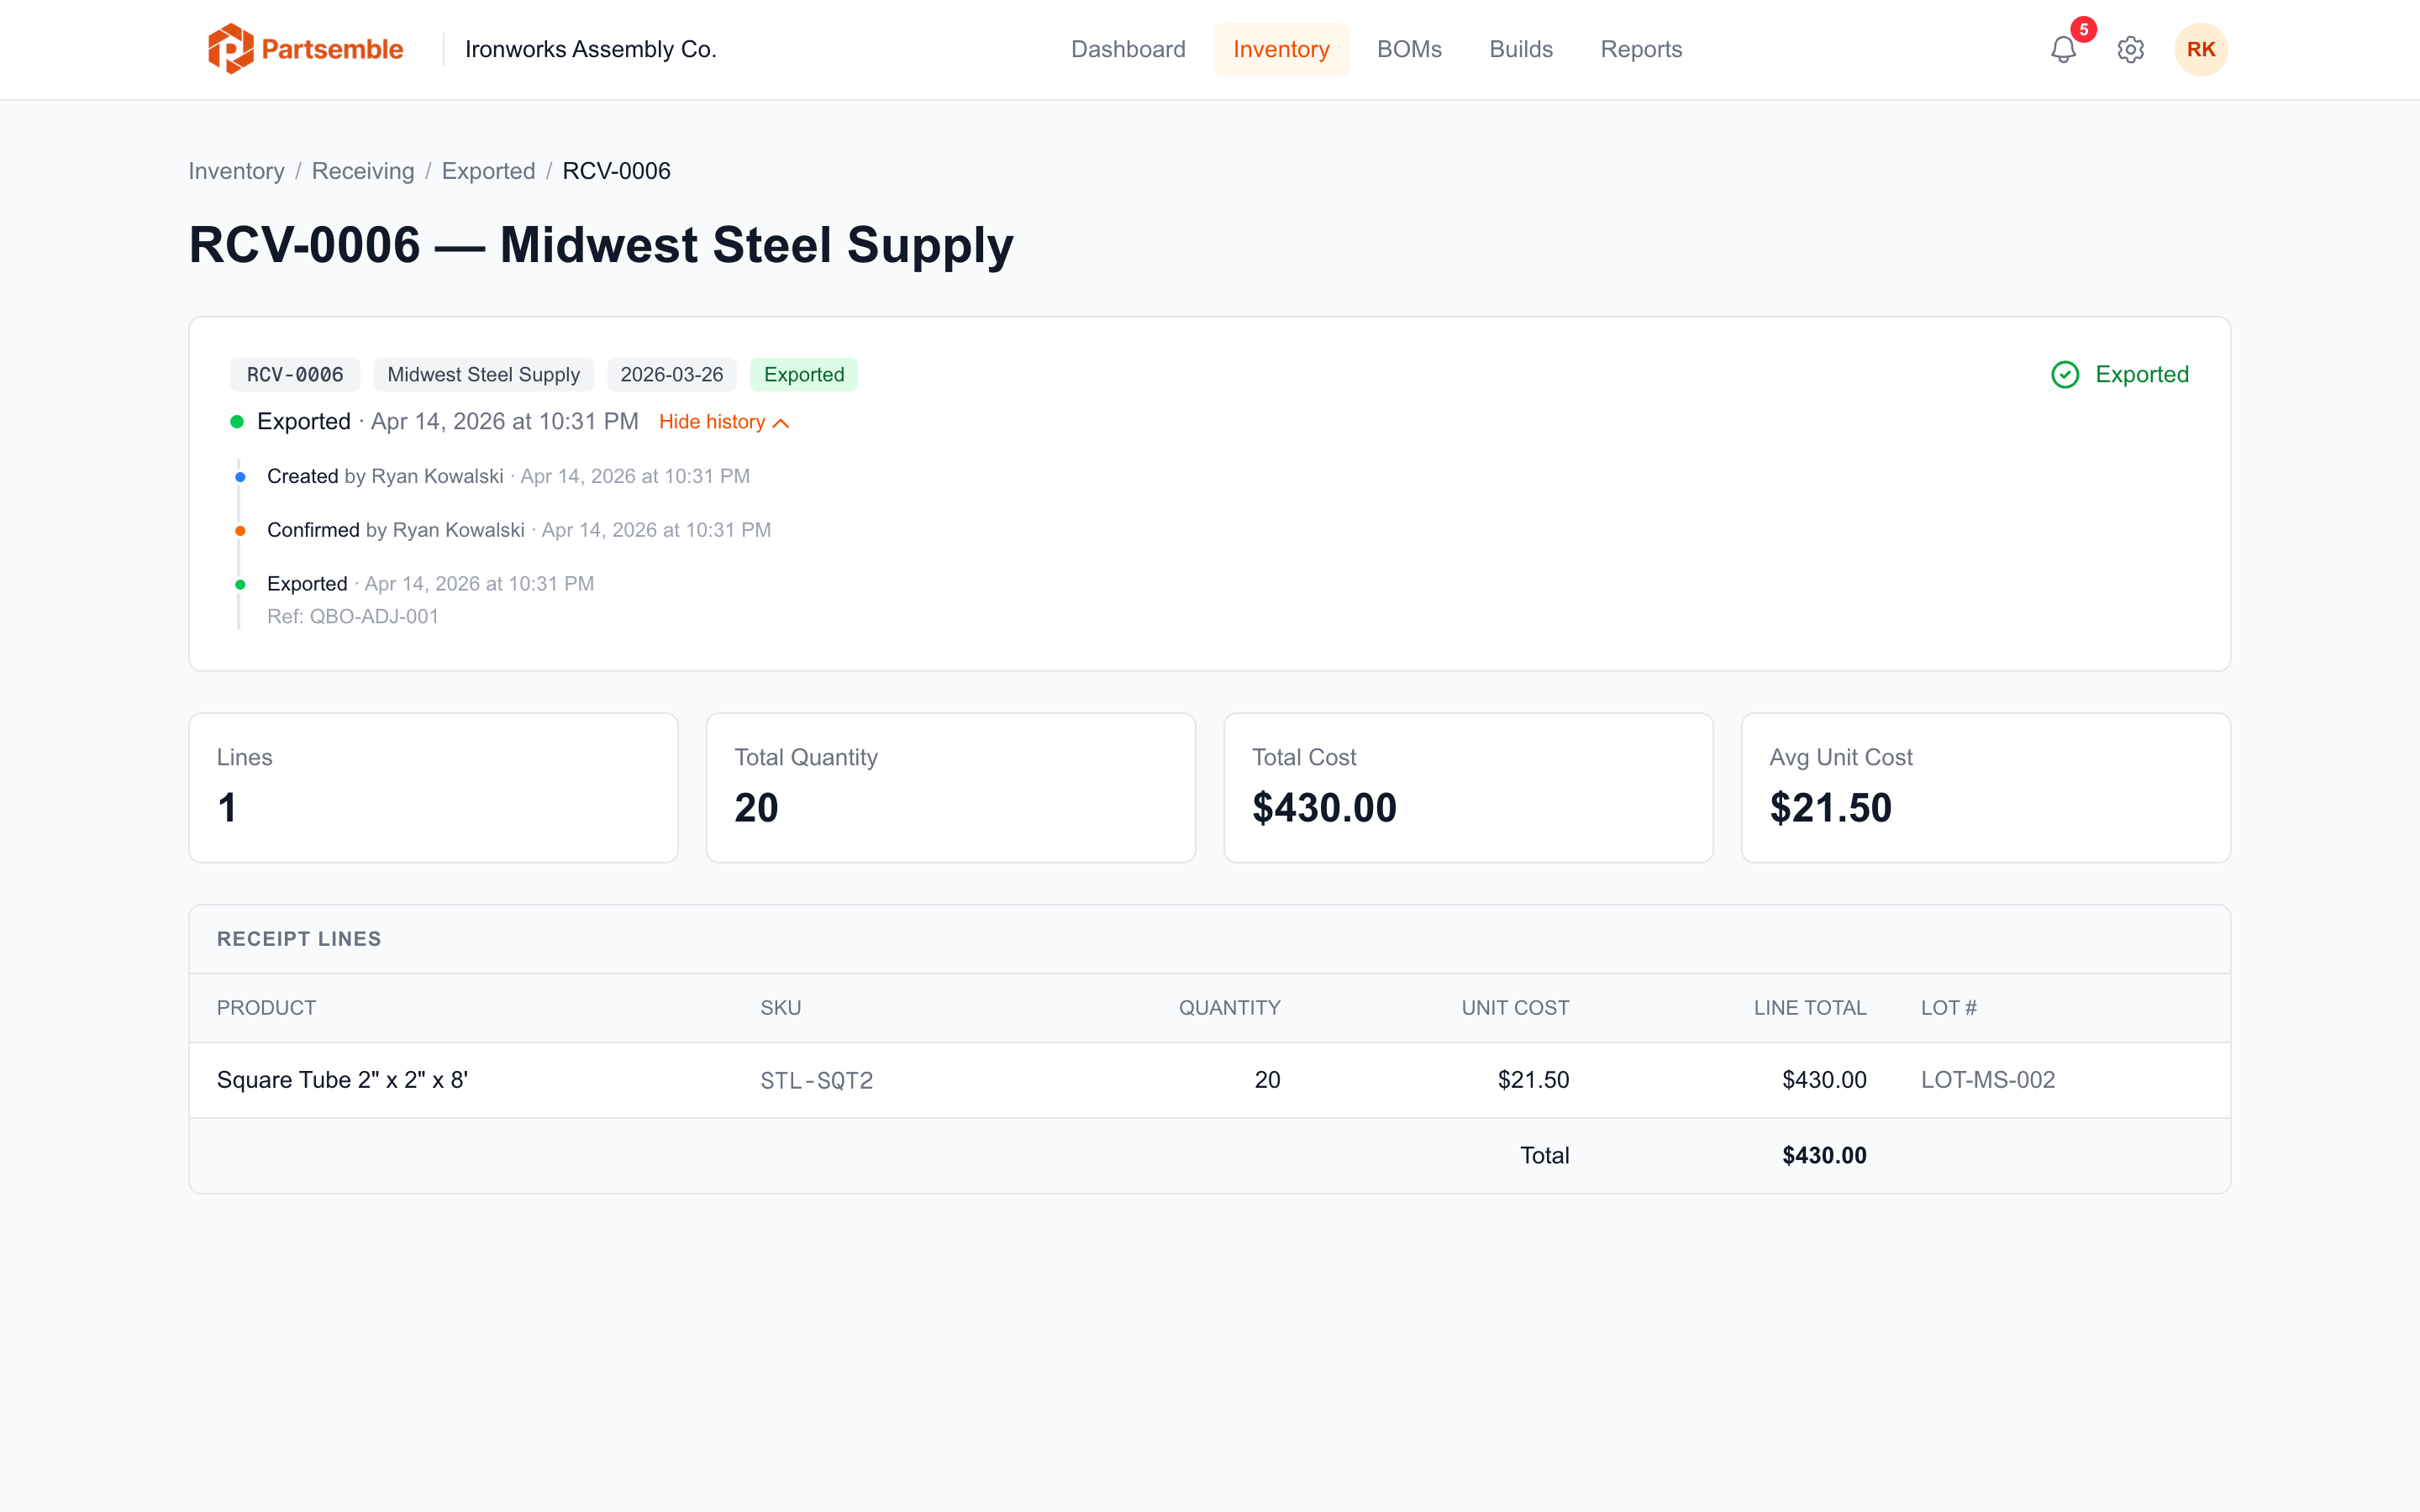
Exported receipts get a reference number in your accounting system in the format PSB-RCV-XXXX (using the receipt number). This makes it easy to match accounting transactions back to specific Partsemble receipts.
Handling Failures
If an export fails, the receipt moves to Failed status with an error message. Fix the underlying issue (check connection, verify accounts, ensure products are linked) and retry from the receipt detail page.
Receipt Export Statuses
| Status | Meaning |
|---|---|
| Confirmed | Receipt confirmed, not yet exported |
| Pending Export | Queued for export |
| Synced | Successfully exported to accounting |
| Failed | Export failed — check error and retry |